Every child has a story to tell, so why not get carried up up and away and write your own comic? Use words and pictures (which means less writing, more action). Get your child to the drawing board and start creating a comic book all his own. Scroll down to learn how.
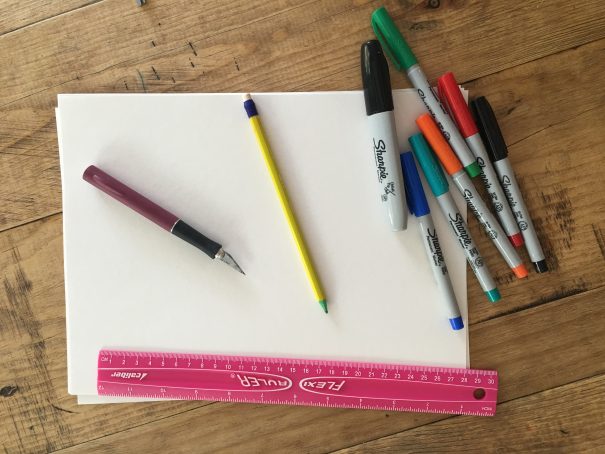
What you’ll need:
Fine point black Sharpie marker (and other colors if your child wants to color in her comic)
Pencil with eraser
Card stock paper
ruler
Craft knife (X-Acto Knife)
Before You Begin: Decide on a story
Brainstorm story ideas. Make sure to explain to your child the importance of a story’s “beginning,” “middle,” and “end.” If your kiddo can’t come up with an idea on his own, have him think about something he did recently — or something he wants to do — that can be explained in in three simple pictures. Anything goes!

Step One: Make a comic strip stencil
This is crucial if you want to do more than one comic strip (or if your little artist makes a mistake and wants to start over). Make a 10″ by 5″ rectangular cutout that will fit three comic panels comfortably.
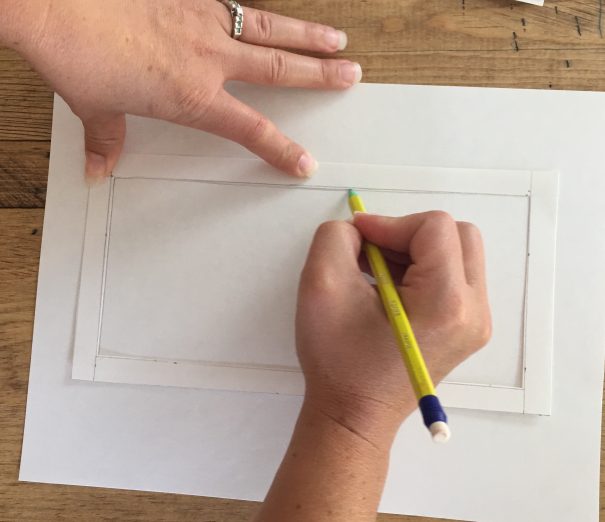
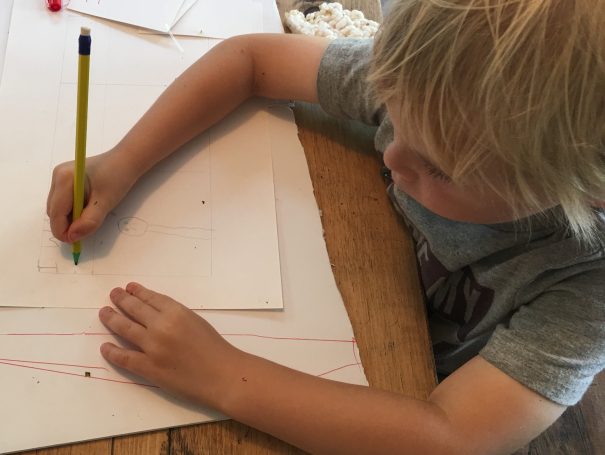
Step 2: Pencil in a template
Using the stencil, let your little illustrator pencil in the borders of the comic strip on a plain piece of white paper (card stock is better because the marker won’t bleed through). Then, draw two vertical lines so that your rectangle becomes three panels. You can mark these 1,2, and 3 to give your kids a guide for the beginning, middle, and end of their story.
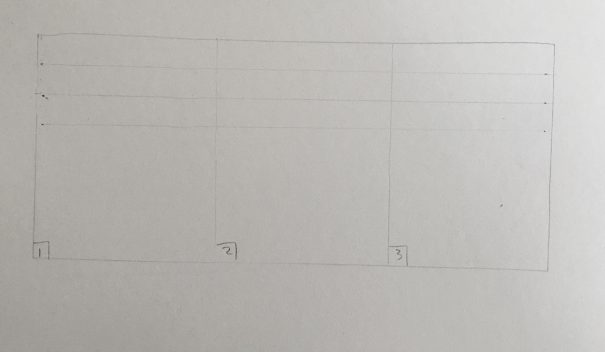
Step 3: Make ruled lines for dialogue
Using your ruler, mark three or four lines across the top of all three panel lines (you’re going to erase them later, so keep them light). This is where your kiddo will write the dialogue or narration of his story. Note: Don’t skip this part! Guiding lines help your child write his letters correctly (especially important for newbie writers) and give his comic a professional look when it’s finished.
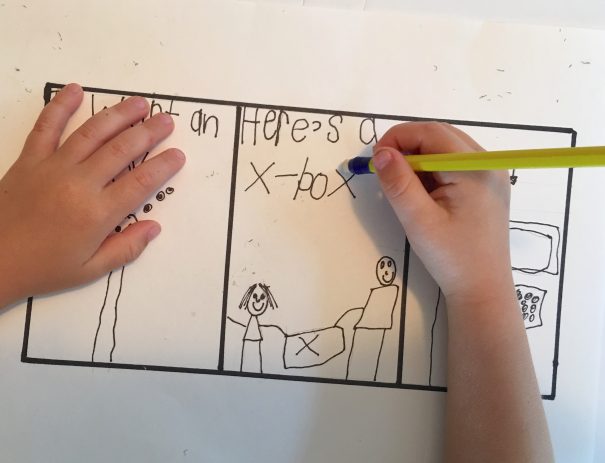
Step 4: Tell your story!
The stage has been set — now’s the time for your little creator to get to work. Have kids write their dialogue or narration on the ruled lines, leaving the square below to draw corresponding pictures.
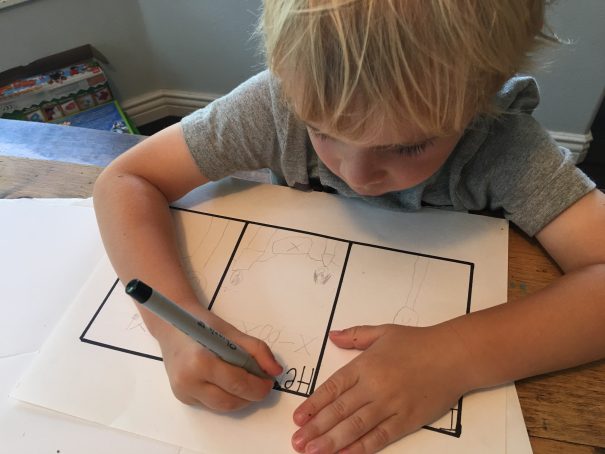
Step 5: Make it permanent
Once the story and words are written, have your child trace over his words and pictures using a permanent marker. Note: Grown-ups can do this part if little artists are wiped out.

Step 6: Erase the pencil lines
Here’s where your kiddo’s comic starts to shine. Erase all the pencil marks from the page using light strokes (you don’t want to smudge any marker lines).
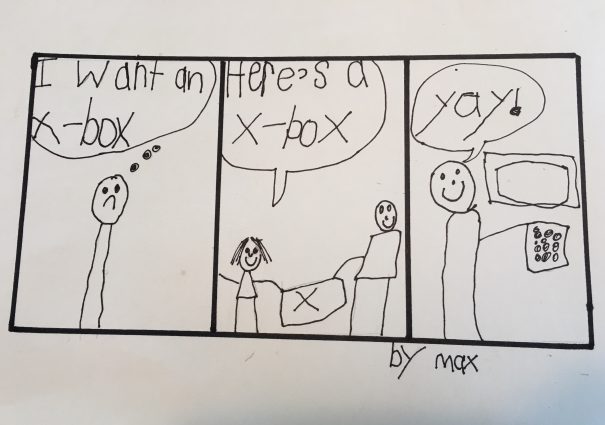
Step 7: Make some bubbles
Add bubbles or squares to make the narration or dialogue pop. Lastly, have your storyteller sign his comic. For proprietary reasons, of course — this little gem is going to be worth something when your cartoonist makes it big! After all, bestselling Captain Underpants author Dave Pilkey was just a second-grader when he came up with the winning idea for his scantily-clad superhero.
For more comic-creating fun…
Want to make an online comic you can share with friends via e-mail or on Facebook? Check out Marvel’s online comic-creation tool and you’ll be going WHAP! SPLAT! ZOINKS! in no time.
-This craft was inspired by the clever folks at mykidsadventures.com.
— all photos and copy by Melissa Heckscher