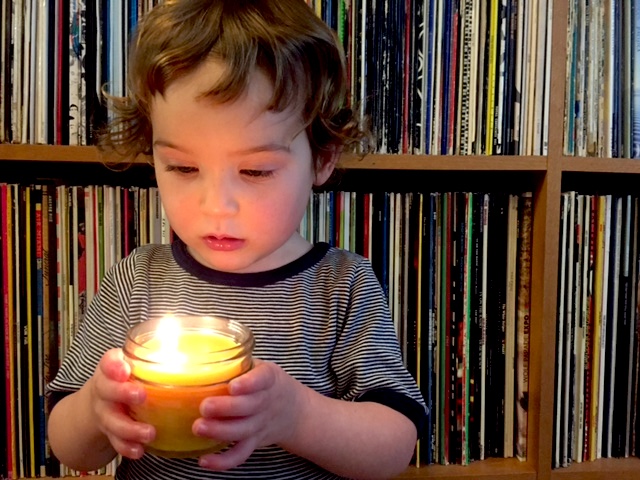
What’s the difference between those $50 jarred candles and the hunk of beeswax you can pick up for less than $10? Not much, and making your own candles is a craft you can do with your little ones and the perfect way to check off that gift list for friends and family members. Here’s a simple tutorial on how bake up your very own custom candles.
What You’ll Need
1. A hunk of beeswax.
2. Some wicks.
3. Glass containers of your choice, such as apothecary jars with lids, glass votives or canning jars. We used 3 oz. Mason jars.
4. Sticks, such as popsicle sticks or chopsticks.
5. Disposable loaf pan or old pot.
Note: We used this lovely kit from Half Hitch Goods. It’s only $19 and includes everything but the glass jars and loaf pan.
How to Do It
1. Use an old pot or disposable loaf pan to melt the wax, since it will be almost impossible to fully clean it afterwards. Set the loaf pan on a baking sheet and turn the oven on low. Place the beeswax in the loaf pan and place it in the oven, stirring occasionally as the wax melts. Depending on the size of your wax, it should take about 1 hour for the wax to melt completely.
2. Cut the wick a couple inches longer than your glass container.
3. Wrap one end of the wick around your stick, and lay the stick over the top of the container, so the wick hangs down the middle. Set the bottom end of the wick in the bottom center of the container, using a smudge of hot wax to set it.
4. Pour the melted beeswax into a handled container then pour it into the glass. Note: The beeswax will start to cool and harden quickly (especially during cooler weather!) so do this as quickly as possible while being extra CAREFUL. Wax is hot and sticky!
5. Let the poured candle dry at room temperature for 24 hours. Clip the excess wick to about 1/4 inch and remove the stick before lighting.
Pro tip: Once your candle burns down, you can remelt the wax, add a new wick and make a new one!
Have you made your own candles? Do you have any tips for our readers?
–Erin Feher


