They’ve revved their engines and raced around the track. What’s next for those toy cars? A new home, of course! Read on for an easy-peasy DIY toy garage tutorial that’ll really get your kiddo’s creative engines running.
You’ll Need:
a box
paint
paint brush
scissors
sharpie pen
Hot Wheels® cars
Instructions:
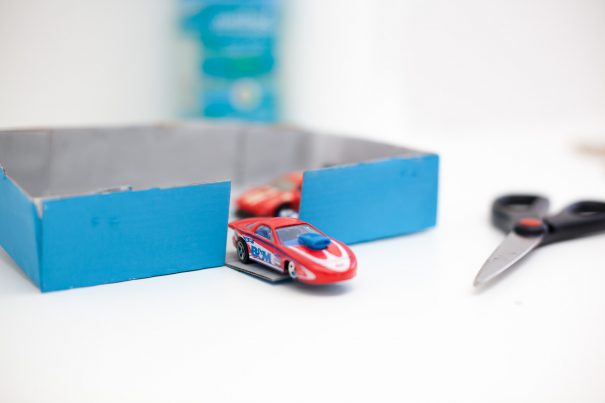
1. Choose what color you want to paint your toy car garage. We chose blue for the outside and grey for the inside.
2. This step might get messy so you’ll want to lay out some newspaper or scrap paper to place underneath your box as you paint it.
3. Once your garage has dried, cut off the box’s flaps. Mom and Dad might need to help with this step.
4. Choose what cars you want to put in the garage.
5. Using your sharpie pen, create parking spaces for each car.
6. Use your scissors to cut a flap so your cars have an entrance and an exit.
We love how easy and entertaining this project is! Have you ever made a toy car garage? Are your kids into Hot Wheels? Share your creations with us on social media by tagging #RedTricycle and we’ll repost our favorites!
photos by Christal Yuen; copy by Erin Lem; and a special thanks to Momtastic for the inspo