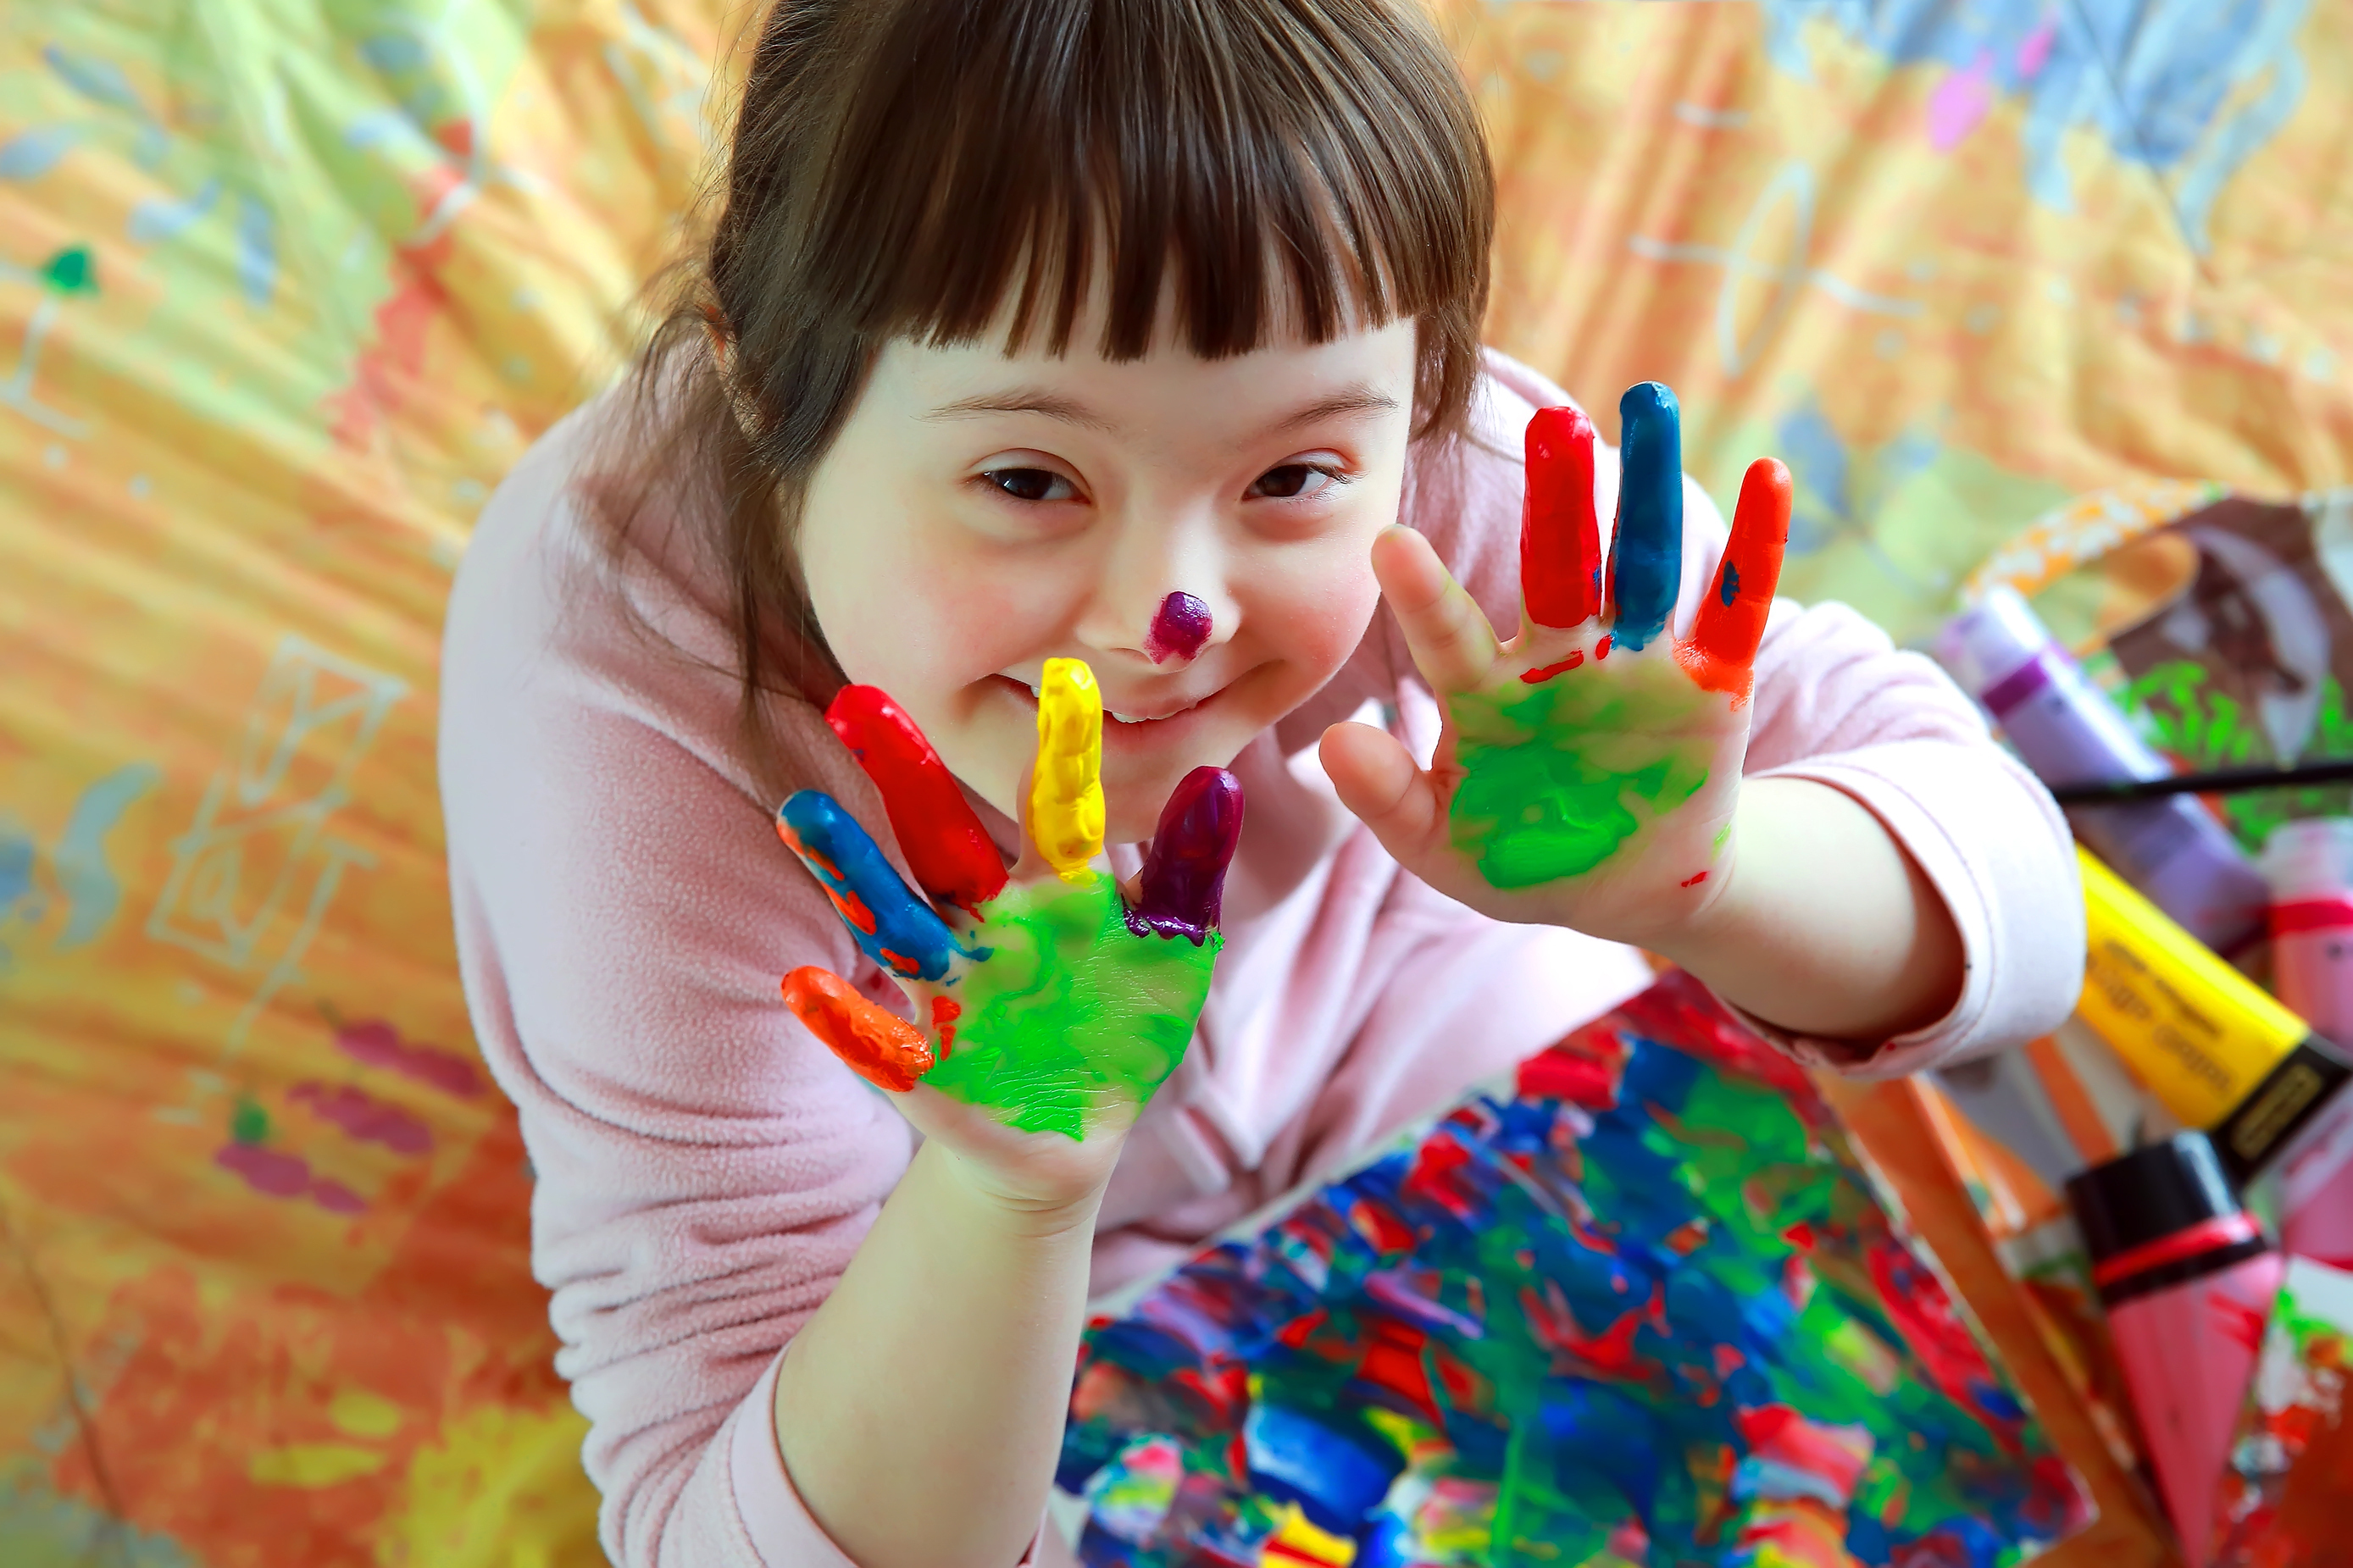
Imagine your young child at home, red baby-safe paint stretching up her arms like elegant gloves. Dots of blue and yellow are splashed across her face. His old toy car zooms back and forth through a rainbow puddle on your kitchen table. Is this a common scene in your house, or does this sound a little bit frightening? If you answered yes to the latter, you are not alone. Messy art with young children might sound fun, but oftentimes it gets postponed for years, either until preschool or until someone else can do the clean-up.
Materials:
• A few sheets of large glossy finger paint paper (at least 11”x16”) found at any art
store. If you don’t have finger paint paper, anything that will hold up under gobs
of paint will do
• Masking tape
• Non-toxic, baby-safe paint or tempera paint also found at any art store.
For children under 1 year, try using blended food or sauces as paint. You can even
make your own whipped cream without sugar!
• 2 or 3 small plastic bowls
• 2 or 3 spoons
•Various fun objects that may be lying around the house such as kitchen utensils
(whisk, spatula, etc.), popsicle sticks, straws, plastic toy cars and animals, combs,
sponges, Mardi Gras beads … you get the idea!
Bucket, sink or bathtub
Steps:
1) Start with taping a piece of paper to the table to keep it from sliding around.
2) Offer your child a small bowl of paint and a spoon to transfer the paint to the
paper. Start with one color and then add one or two more bowls to the table (I
usually use the three primary colors, red, blue, and yellow). You can begin by
scooping out the paint for your child, but eventually, she should be able to do this
step on her own.
3) Let your child first explore the paint on the paper with his fingers. If he is
reluctant to touch the paint, offer him one or two fun objects (see examples
above) to use as a painting tool. Or if you are inclined, set up your own paper and
get your hands messy as well! Your child will most likely follow your lead.
4) Expand on this experience by including new materials like glitter in a salt shaker
or something textural like a cup of sand.
5) When your child is ready to clean up, put a bucket of water on the floor or
a stepstool at the sink and dunk her arms in. If your little artist was really
experimental, you may need to move to the bath!
“Toddler Painting 101” may still sound too messy or exhausting to become a routine
activity in your home, but if you give it a try you might find that it’s well worth the
trouble. Remember, it’s about the creative process … for you and your child.
Megan Schiller is an artist/designer and teaches toddler art classes in Mill Valley.
Her adorable 2 yr old is covered in paint most of the time. For more toddler art ideas, check out her class blog at or e-mail Megan.
.


