Lifestyle blogger, Alexandra Hedin has been taking her know-how on cooking, decorating, and being the consummate hostess to the masses following the publication of her book Entertaining at Home. She’s a mom to two small kids (with another one on the way) and will be documenting the transformation of her new home into an expressions of her style on her blog. We asked her to come up with a fun St. Patrick’s day project to do with kids, and she offered up this post for us:
I like St. Patrick’s Day. It’s a kooky holiday that lets you get away with almost everything. And given how much I like Corned Beef Hash, this holiday makes the best ‘morning after’ leftovers breakfast. This year I wanted to create a few fun things to add a little festivity to the whole day, not just wearing green. Don’t forget that it’s the little things that make the day special and fun, so relax, make a few things, and have a great St. Patrick’s Day!
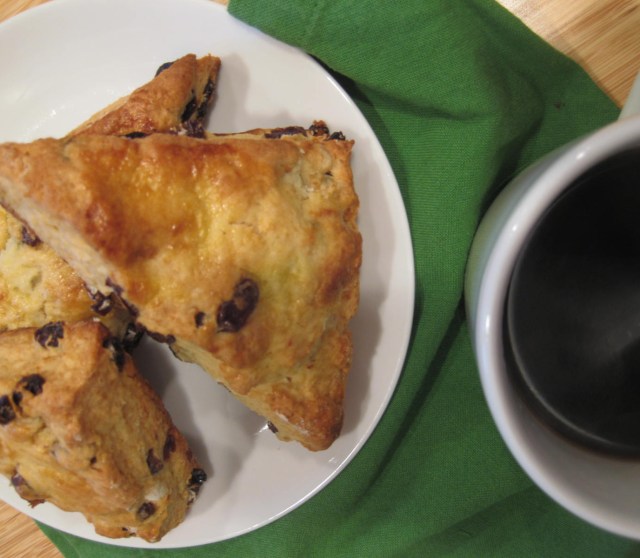
Since I love Irish Soda Bread, I generally just make two loaves so I can eat one as toast for breakfast or as a sandwich with left over corned beef, and the second one is for everyone at dinner. This year I wanted to do something different for breakfast and it seemed like Irish Soda Bread was perfectly suited to be turned into scones. I realize if you are actually Irish, the idea of turning a national food symbol into something entirely British is blasphemy. But they really are delicious.
Irish Soda Bread Scones
1 1/2 cups plain yogurt
1/2 cup melted butter
1 egg
4 cups flour
1/2 cup sugar
2 teaspoons salt
1 teaspoon baking powder
1 teaspoon baking soda
2 cups raisins
3 tablespoons caraway seeds
1 egg yolk
1 tablespoon heavy cream
Preheat oven to 375 degrees.
In a small bowl whisk together yogurt, butter, and egg. Set aside. In the bowl of a stand mixer, combine the rest of the ingredients until well mixed. With mixer running, slowly add wet ingredients until mixture just barely holds together.
Drop dough out onto a floured surface and knead gently 10-15 times to form a 12″ disk about 2 inches thick. With a floured knife, cut disk into eight triangles. Place on a cookie sheet with about 3 inches around each triangle. Whisk together egg yolk and cream and brush the tops of each triangle until completely covered. Place cookie sheet into a preheated oven and bake for 30 minutes until golden brown. Remove from oven, cool slightly on a rack and serve warm.
When I was a little girl we had big hair bows that we wore all the time. I think a hair bow never goes out of style for a little girl, and whether she loves them or not, everyone wants something fun to wear on St. Patrick’s Day. And if you are feeling a little old for the hair bow option, simply glue a pin back on the ribbon instead of a barrette and you are ready to go—and quite festive.
You’ll need
6 inches of 2″ thick green stripe ribbon
4 inch squares of green dupioni silk (4 dark green, 2 light green)
4 inch square of white canvas
Fusible Web (available at the fabric store)
Hot glue gun
Barrette base (available at craft stores)
Step 1 :: Using the Fusible Web, iron together two pieces of dark green dupioni silk.
Step 2 :: Cut out a shamrock shape from the fused silk. The Fusible Webstops major fraying and allows a perfect shape without stitching. To make a shamrock draw three hearts touching in an arc and a stem from the bottom.
Step 3 :: Fold the ribbon over to create a 90 degree angle in the middle – as if the ends of a tied bow.
Step 4 :: Hot glue ribbon to barrette base.
Step 5 :: Cut each remaining piece of fabric into 3 inch diameter circles by folding the fabric in half three times and cutting an arc across the top of the folds.
Step 6 :: While fabric is still folded, cut a small slit into each fold and once in the center of the ‘triangle.’
Step 7 :: Unfold all fabric circles and layer them on top of each other – white, dark green, light green. And re-fold in half three times.
Step 8 :: Stitch the base of each fabric ‘triangle’ to secure it’s shape.
Step 9 :: Hot glue triangles to ribbon base on the barrette with the center of each triangle touching and the wide ends fanning out.
Step 10 :: Hot glue the shamrock to the center of the triangle pieces and fluff the fabric triangles.


