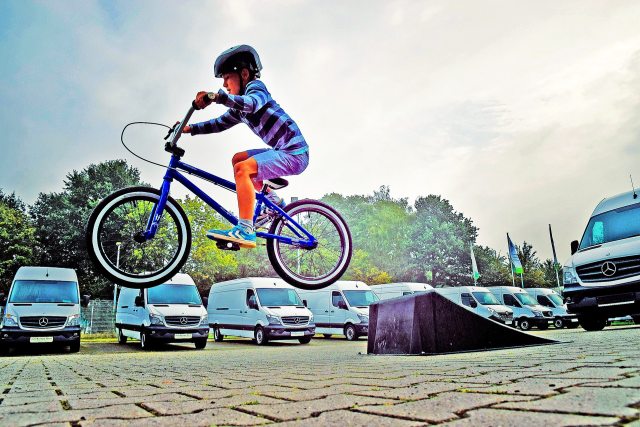
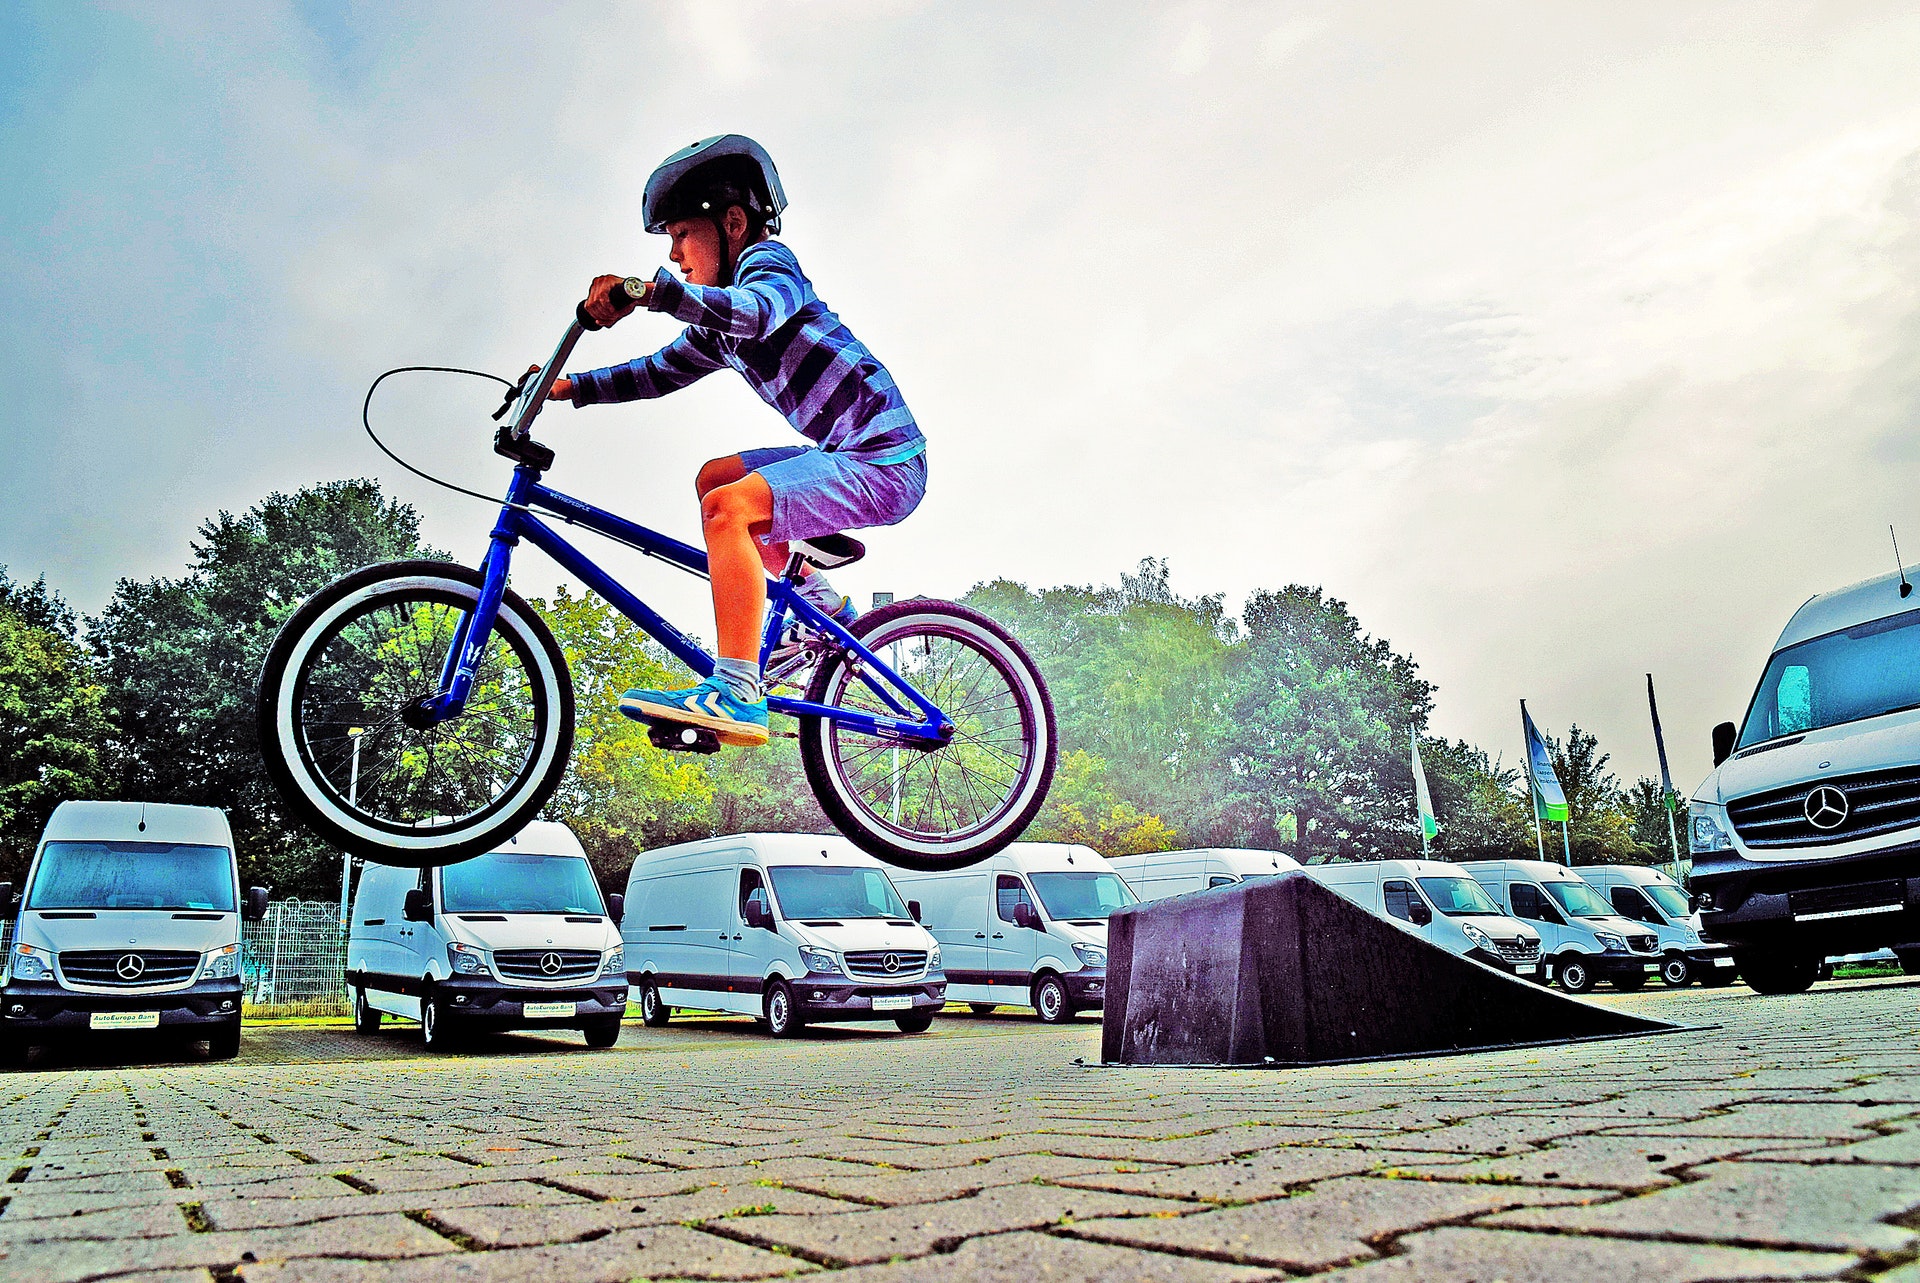
For many parents, teaching your child how to ride a bike is a rite of passage. Sometimes it’s a breeze: some kids just seem to “get on and ride.” But if your child isn’t making progress you may feel guilty, frustrated or helpless—especially if a sibling learned easily or if the clock is ticking for a summer camp where kids get around on their bikes. This article explores tools (toys), techniques and resources to help you succeed.
First: Is Your Child Ready?
Bicycling instructors simplify the task by first teaching two-wheel balance, then using that foundation to add pedaling. How early can a child learn to balance? Some say, “when they can stand on one leg for 10 seconds.” Some use a “Joules Test” that gauges a side-reaching response:
1. Stand about a yard away, facing your child. Tell her to hold her feet still.
2. Toss a small soft object past her side, far enough out that she needs to move her upper body to reach (remember, feet stay put). Repeat and observe.
3. If she reacts in less than a second, she may have the coordination to balance a bike.
What Type of Bike Should My Kids Use to Learn How to Ride?
Here are some useful toys that develop handling skills for two-wheel biking.
Tricycles teach pedaling, though they don’t teach two-wheel balance or leaning into turns. But just like on a two-wheel bike that can lean, the rider’s arms must cooperate to steer.
Tri-wheel micro scooters have a tilting platform with two front wheels, a rear wheel with a friction brake, no seat and a T-shaped steering handle that makes the platform tilt toward the turn. Kids as young as 18 months can enjoy these. The way the scooter turns is similar to two-wheel bicycling, though the rider is standing.
Two-wheel kick scooters, first popularized by the Razor brand, are similar but have a single front wheel, so the balance experience is a bit more like a bicycle.
Balance Bikes, a.k.a. “glider” or “strider” bikes, have no cranks or pedals. These can fit kids as young as two. Their low seat lets riders reach the ground easily with both feet flat and knees bent. The rider learns to “scoot” by striding and “glide” by raising their feet a bit. They don’t teach pedaling but do lean to turn, just like pedal bikes.
A conventional bike of any size can become a balance bike for a rider of any age if its seat can be set low enough to enable the scoot-and-glide action. Just remove both pedals. Balance bikes without hand brakes are recommended only for flat or slightly inclined surfaces.
What to Know about Brakes & Safe Stopping
For both balance bikes and conventional bikes with pedals removed for learning, a hand brake lever is very useful. If the bike has just one it should operate the rear brake (the front can grab too strongly for a new rider) and should be installed on the right handlebar. For safe stops, teach the rider to brace both arms (extend firmly against the handlebars) before braking—this tends to prevent toppling.
Many kids pedal-bikes have a back-pedal, a.k.a. “coaster” brake—but with pedals removed, it isn’t available! Coaster brakes also require pushing down with one foot only on the pedal that’s behind you, which is less intuitive than squeezing a lever.
What about Training Wheels?
That name has led countless parents to purchase them, though they are more like bicycle “crutches.” They teach the brain to balance while leaning even while riding straight and prevent experiencing how a bike and your body lean together into turns. A child who has “mastered” training wheels must un-learn this crooked balance in order to get the feel of two-wheel gliding and more than a few get stuck trying.
Teach Like a Pro
Rather than training wheels, try this method that instructors have refined in thousands of private lessons with kids, teens and adults. It’s largely fall-proof, if safe stopping is taught first.
- Find a wide, level or slightly inclined paved area with few obstacles and few or no distractions. A sidewalk or trail is way too narrow.
- Lower the seat so both feet (including heels) can be flat on the ground with knees slightly bent
- Remove both pedals (and training wheels)
- Use the “chair posture”: sit up straight, extend arms like big springs, pushing the handlebars outward firmly but not rigidly, like pushing against the edge of a table while seated
- Glide smoothly—keep sit-bones connected to the saddle without bouncing
- Keep the bike basically upright; try not to lean your upper body side-to-side when you touch the ground with your shoe
- When the bike starts to lean, gently look and steer in that direction, moment by moment. (We call this “steering into the lean”, which sounds counter-intuitive—but it works!)
- Glide wherever the bike “wants to go”—at this stage the goal is longer glides, not straight lines
- When the glides starts to last several seconds, encourage your child to count or sing (e.g. their ABCs) which helps to keep the glide going and avoid touch the ground.
- When glides are consistently around 10 seconds, install the pedals.
- It’s okay to demonstrate, but avoid pushing or pulling the bike. Instead, let the child “own” the control and balance. Be patient—glides may start short but will get longer as the brain discovers how a bike responds. And every learner is different.
Help is available! Just as with skiing, swimming or tennis—or evenlearning a musical instrument—it’s well worth considering professional help. For children learning to ride for the first time or wanting to build confidence on basic skills useful on and off the street, private lessons are available from “League Certified Instructors” (LCIs) trained by the League of American Bicyclists through its national Smart Cycling program.
Lessons can help students of all ages build skills and confidence faster, learn proper techniques from the start and understand the how and why of all the building-blocks. We hope this information will help you grow your bicycling family and enjoy two-wheeled adventures!

Frances Barbour
Tinybeans Voices ContributorAvid cyclist since college and a Marin mom since 1998. I became a Cycling Instructor for the League of American Bicyclists in 2006 and joined Bicycle Solutions as their expert cycling coach for Southern Marin. I'm an Au Pair coordinator and editor, do long distance swimming, perform with Singers Marin, cook, speak French and Spanish and race sailboats.


