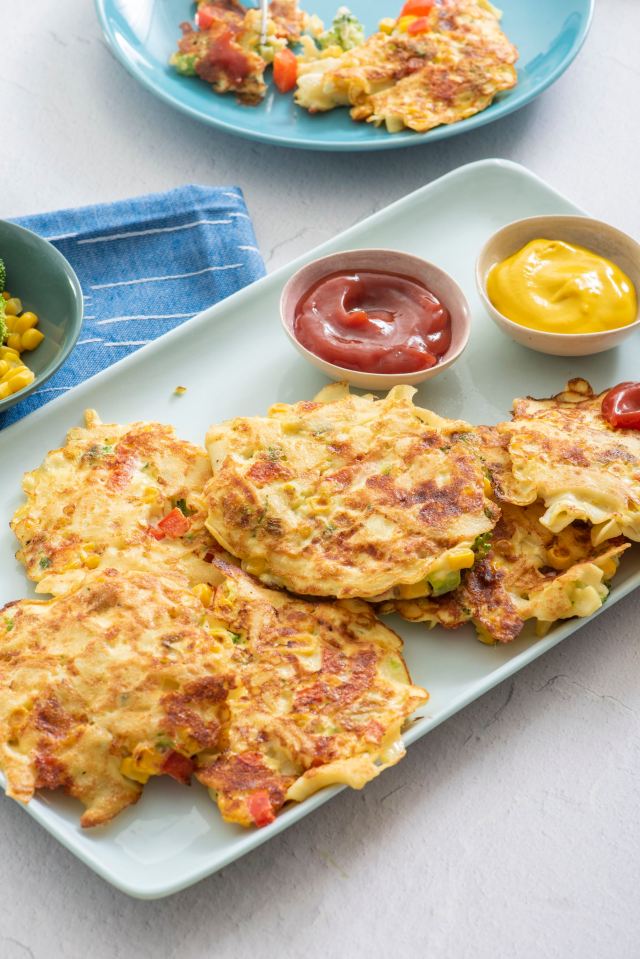
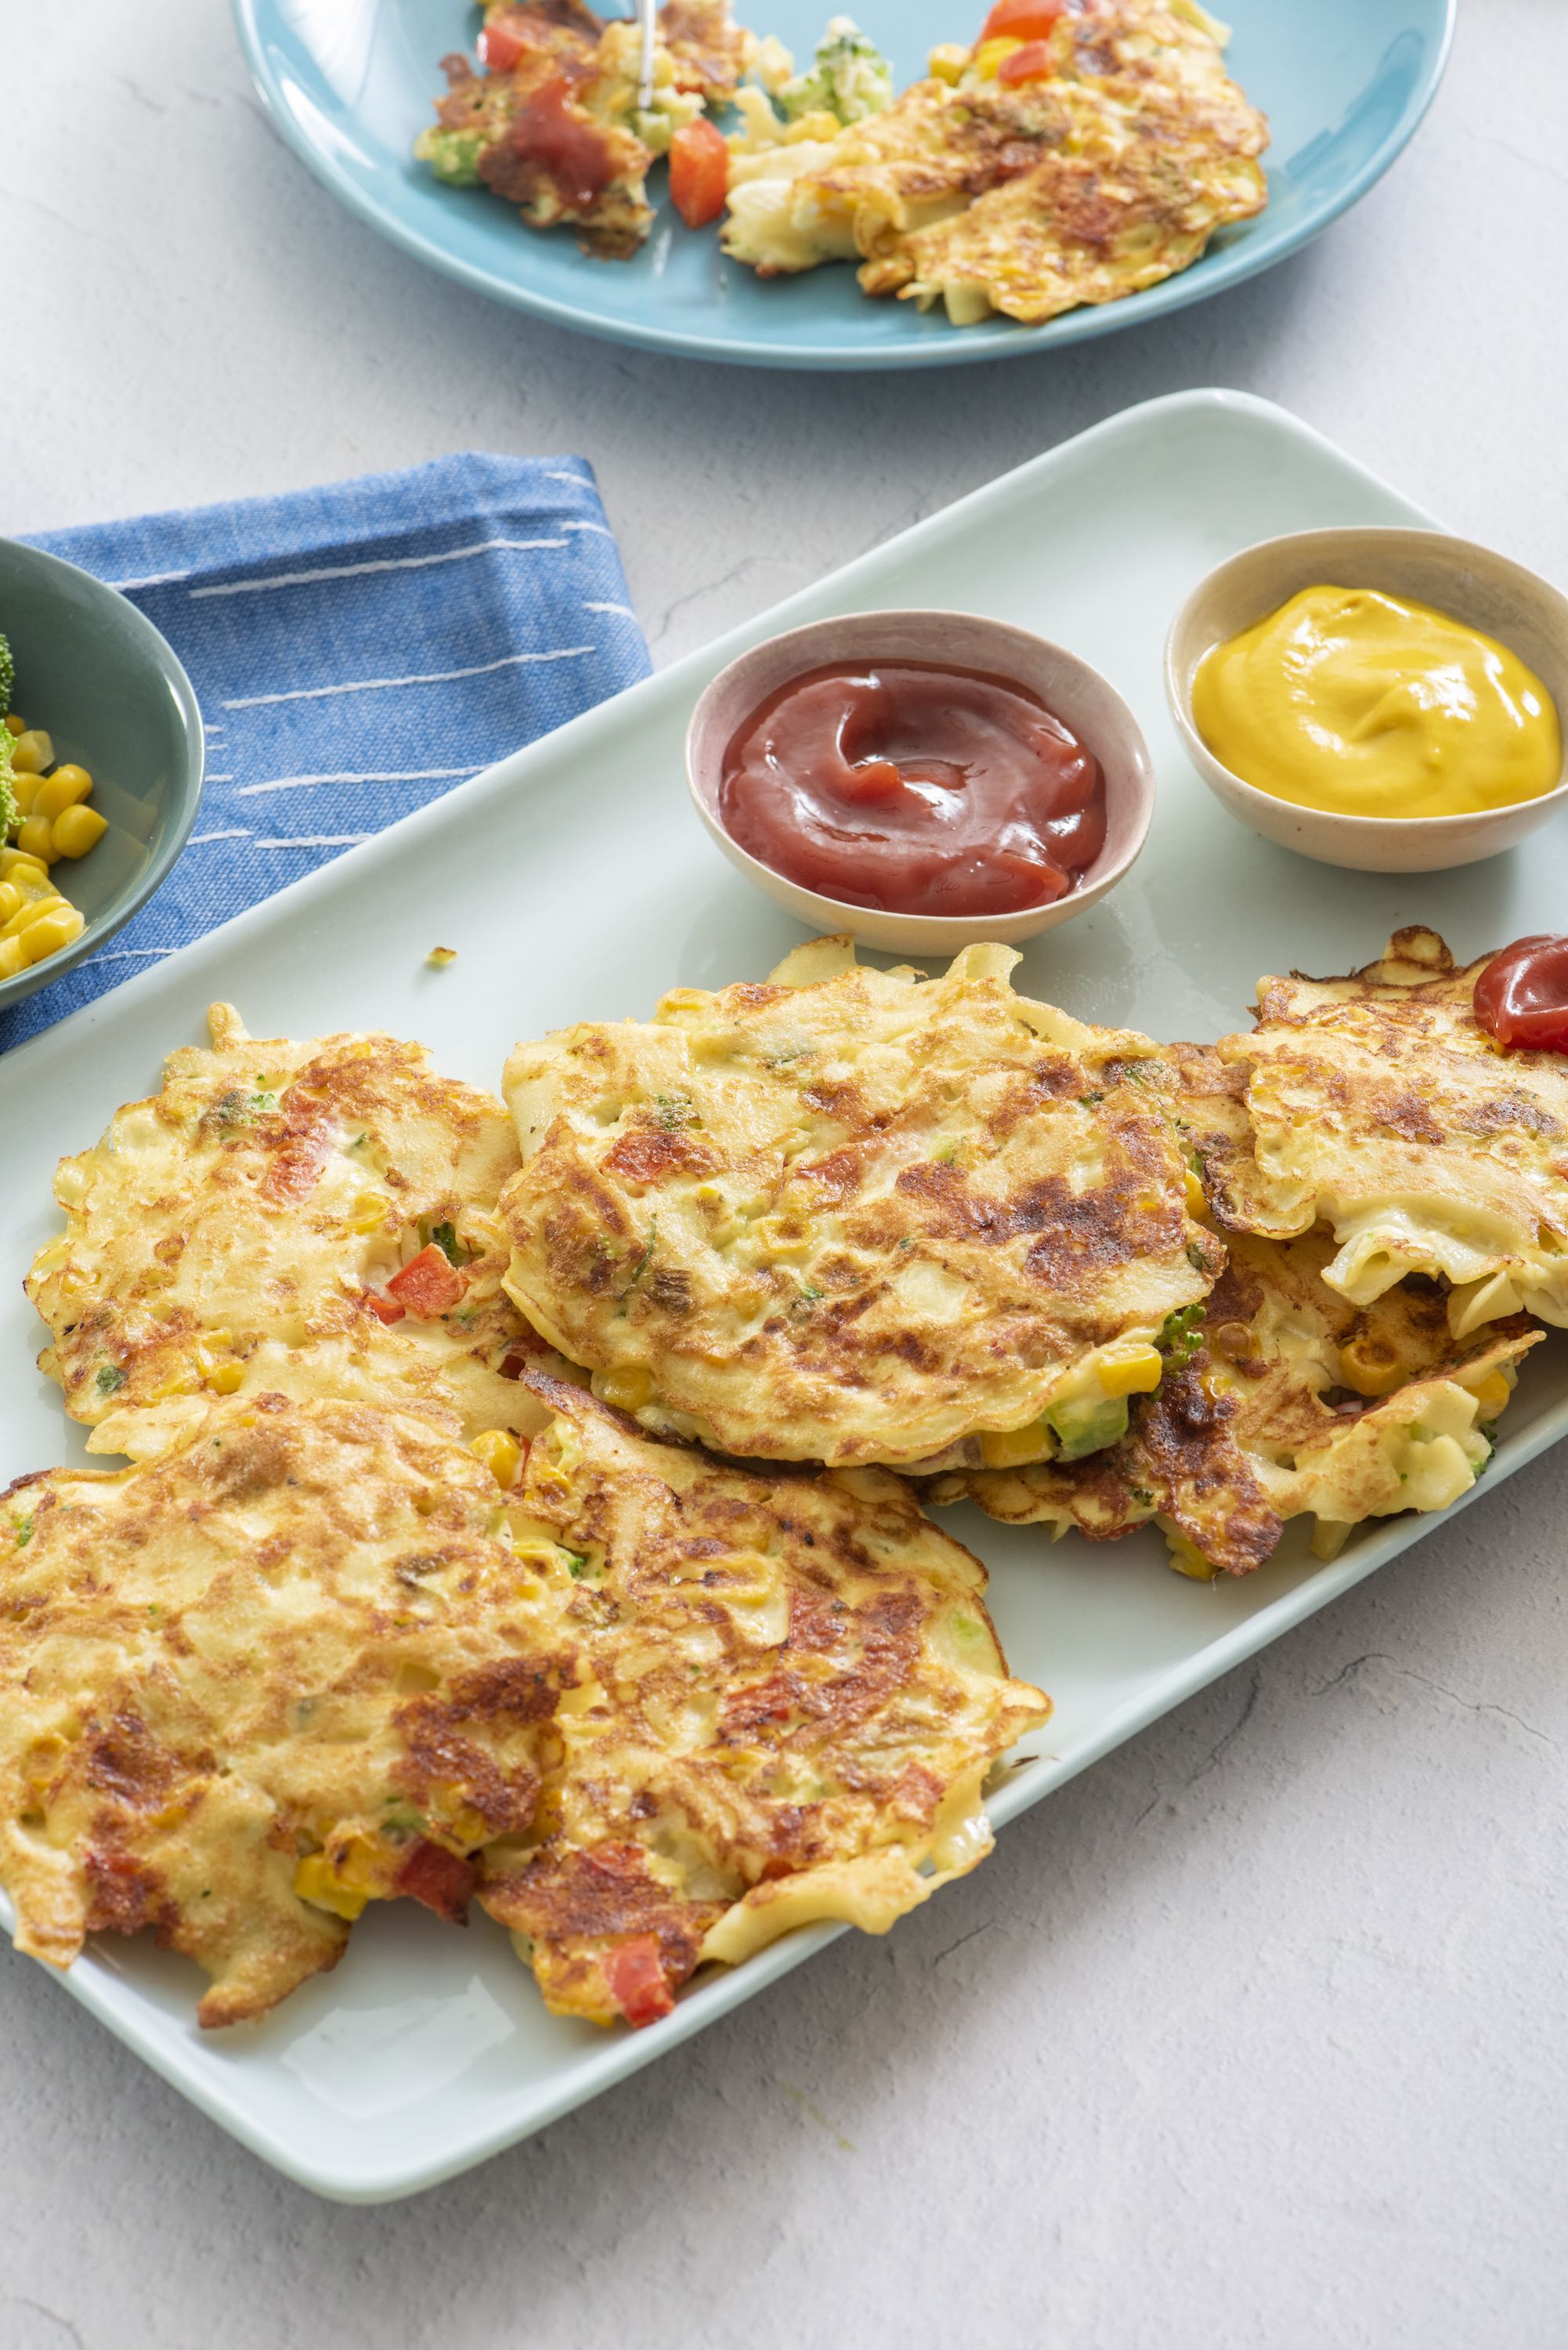
If our kids could eat two foods on repeat it would be noodles and pancakes. Catherine McCord of Weelicious combined these two popular dishes into one, and we have a hunch this noodle pancake recipe will be a new fave in your home. We love that it utilizes those leftover noodles we bet you never know what to do with. With the addition of diced veggies and eggs, these noodle pancakes make a healthy and filling meal.
Ingredients:
2 cups cooked egg noodles
3 eggs, whisked
1/2 cup mozzarella cheese, shredded
1/3 cup corn (I used frozen corn that I defrosted first)
1/3 cup red bell pepper, diced
1/3 cup broccoli, chopped (raw or cooked)
1/2 teaspoon kosher salt
olive oil
Method:
1. Place all the ingredients (except for the olive oil) in a bowl and stir to combine.
2. Heat 1 tbsp of olive oil in a large saute pan over medium heat.
3. Pour about 1/4 cup of the noodle mixture per pancake in the pan and cook for 3 minutes (you can pour as many pancakes at once as fit comfortably in your pan).
4. Flip the pancakes and cook an additional 3 minutes. Continue making the pancakes with the remaining mixture.
To freeze: Allow to cool, then place in ziploc bag, label and freeze. When ready, pop them into the oven at 300 for 10 minutes or until warmed through or defrost in fridge for 24 hours then heat in a dry pan.

Catherine McCord
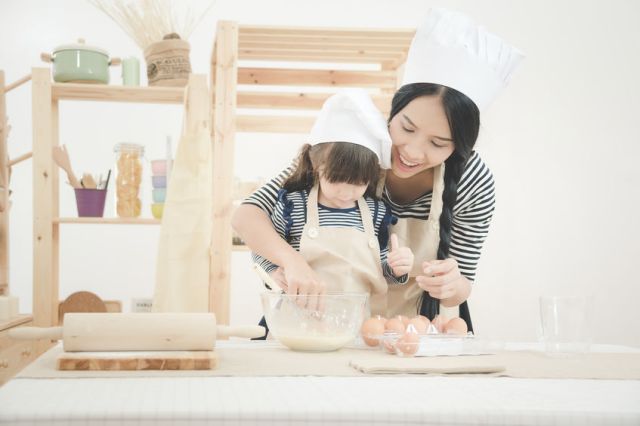
Tinybeans Voices ContributorCatherine McCord is the co-founder of One Potato and the founder of the popular Weelicious brand, a trusted content resource synonymous with family and food. She has written three cookbooks including her latest Smoothie Project. She lives in Los Angeles with her husband and three children.


