It’s official: spring has sprung! As the days get longer and Easter gets closer, chances are you’re looking for something fun and new to keep the little ones busy. Whether those springtime showers are keeping you inside or the kiddos are just in a creative mood, help them make one of these awesome Easter crafts. They’re super simple for kids and moms too–all in all, an afternoon well spent.
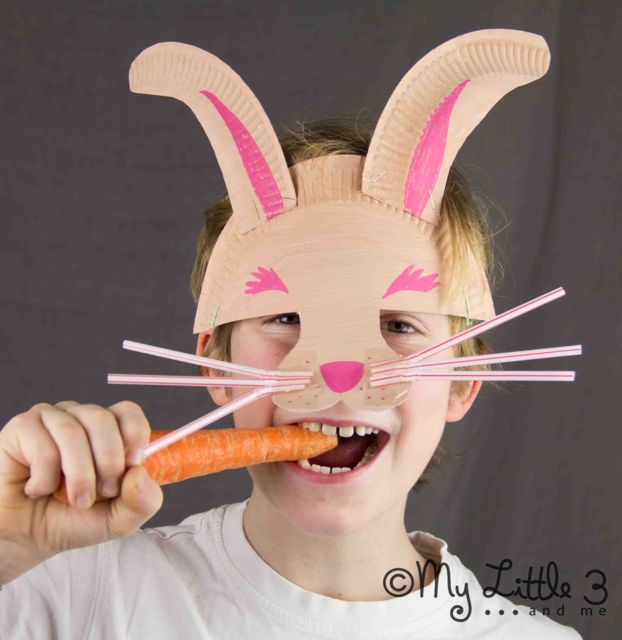
Easter Bunny Mask
There’s no need to splurge on fancy art supplies to create a fun seasonal craft with the little ones. Instead, just grab some paper plates and straws from the kitchen and you’ll have adorable bunny masks in no time. Hop over to My Little 3 and Me for the super simple instructions.
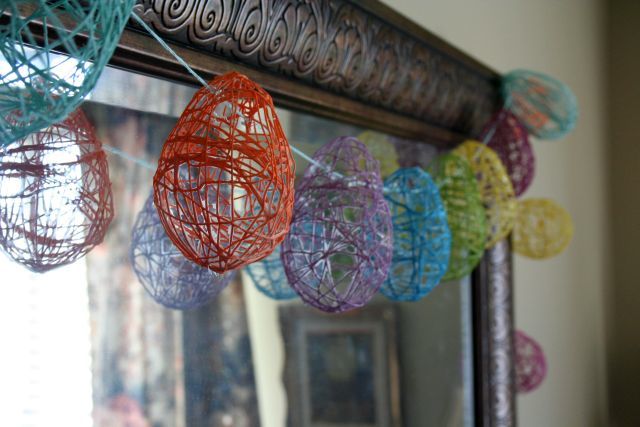
Easter Egg Garland
These impressive-looking eggs from Crafty Endeavor actually aren’t too hard to pull off, and the kids will love the paper maché technique. Just dunk embroidery thread in a mixture of liquid starch and flour, and wrap it around a mini balloon. Then pop the balloon once it’s dry, and you’ve got a one-of-a-kind Easter decoration!
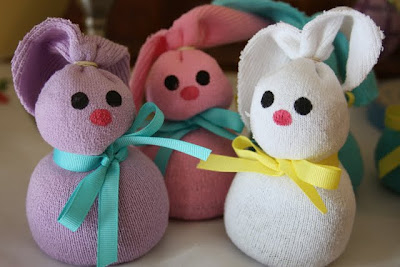
Sock Bunnies
Help your kiddo make their own little Easter buddy with this great tutorial from Hotcakes. Just grab some socks, dried beans, and a few markers for decorating, and you’ll be on your way.
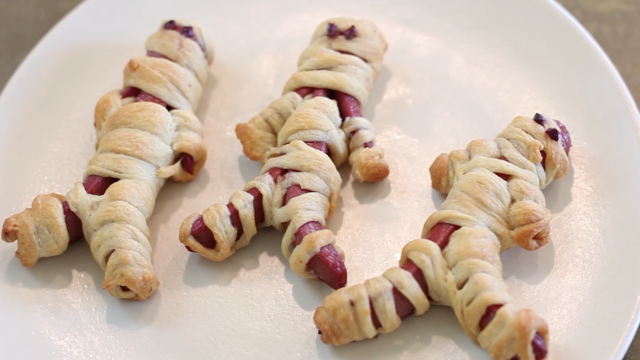
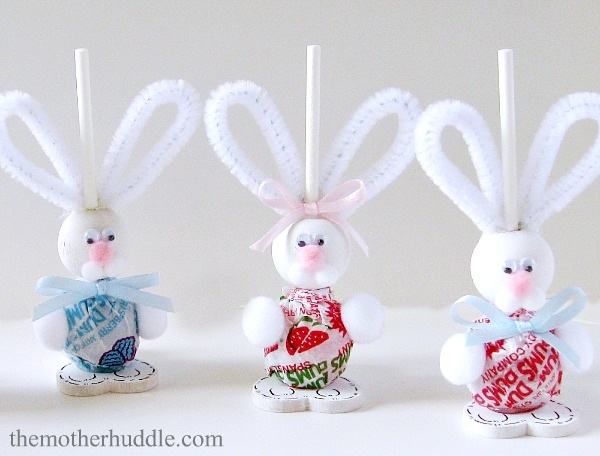
Easter Bunny Suckers
These little suckers from The Mother Huddle are the perfect treat for your kiddos to bring to their friends at school just in time for Easter. You’ll have to help out with the hot glue, but kids will love helping to paint and decorate the little guys.
Paper Plate Baby Chick
Here’s a bright idea from Simple As That–a happy baby chick made out of a paper plate and a few scraps of paper. Little ones can take the reins on this craft; with a few snips of the scissors and swipes of the glue stick, they’ll have created a masterpiece in no time.
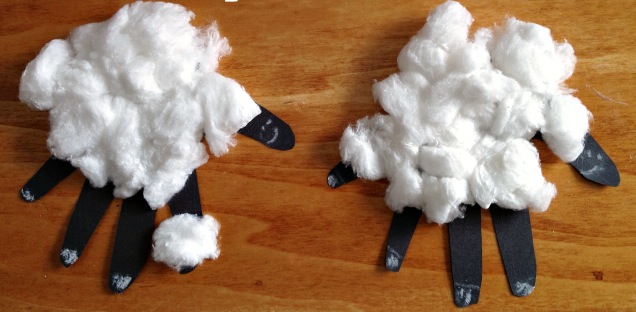
Handprint Lambs
Perfect for even the littlest kiddos, this craft is festive and super fun. Thanks to this simple tutorial from Baby Savers, your little one’s handprint will become an adorable lamb in no time.
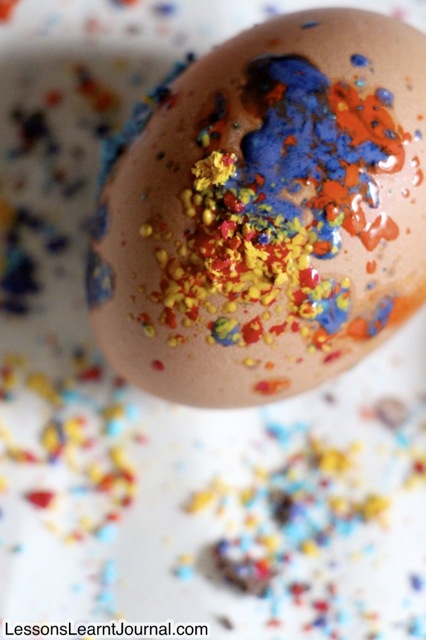
Melted Crayon Eggs
Dyed eggs are a thing of the past thanks to this awesome idea from Lessons Learnt Journal. Crayon shavings melt beautifully on top of a fresh hard boiled egg to make a unique look each time.
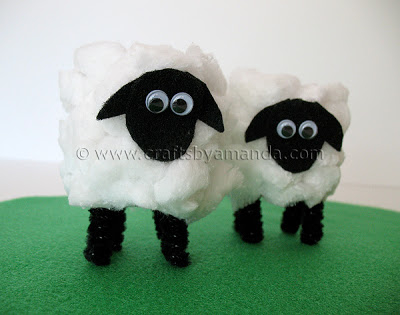
Cardboard Tube Lambs
The kiddos will love making these little guys–not only are they super adorable, but they’re also made out of supplies you’re bound to have laying around the house, like cardboard toilet paper tubes, cotton balls, and pipe cleaners. Check out Crafts by Amanda for the full tutorial, including a convenient YouTube instructional video.
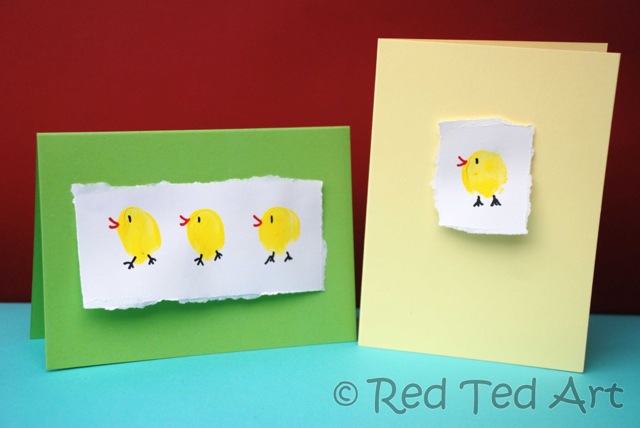
Easter Chick Cards
Here’s a super simple craft from Red Ted Art’s Blog that would make the perfect card for your little one’s favorite friends and family. A plain yellow thumbprint becomes a cute little chick with the addition of a beak and some little feet.
Felt Carrot Garland
This garland may look a little complicated, but if you’ve got a sewing machine and a free afternoon, it won’t be too hard to pull off. The little ones can help fold the felt to make carrot shapes, and then you can easily stitch it up and hang it over the fireplace. Stop by Positively Splendid for step-by-step instructions and pictures.
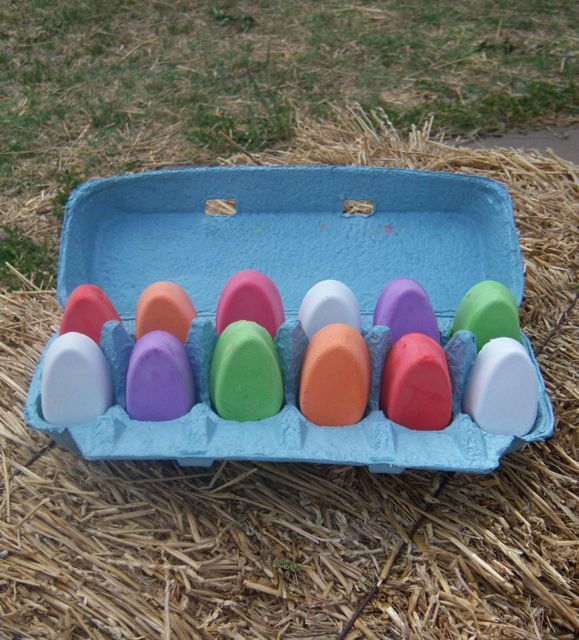
Easter Egg Sidewalk Chalk
Here’s a fun craft from Hipster Hostess that the kids can enjoy even after they’ve finished making it. Easter egg molds make these brightly colored pieces of sidewalk super festive, although you can use any shape of mold you like.
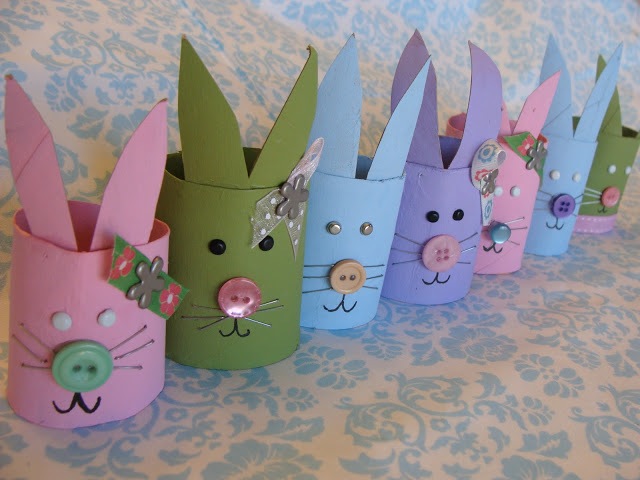
Cardboard Tube Easter Bunnies
Here’s yet another adorable use for those cardboard toilet paper tubes from My Little Gems. With some strategic cutting and a fresh coat of paint, your little ones can each create their own unique Easter bunnies. Plus, they can go to town decorating the little guys with buttons, ribbons, or whatever else you have on hand.
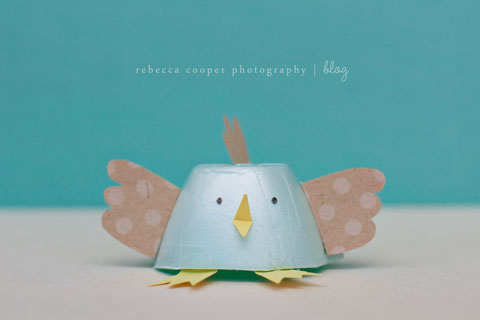
Egg Carton Easter Bunnies and Chicks
We never would have guessed that these sleek little chicks were made out of an egg carton! Your kiddos will definitely be impressed by what they can craft by using just a bit of scrapbook paper and some creativity. Head over to Simple As That for instructions.
Tell us about how your crafts turn out in the comment section below.
— Susie Foresman


