As pediatric nurses and moms with eight kids between us, we know that kids rarely get sick or injured at a ‘convenient’ time. In fact, if your life is anything like ours, these things happen at just about the absolute worst time possible.
You may be heading on the trip of a lifetime to Disney World and hear the words no parent longs to hear: “I don’t feel so…(insert vomiting).” Maybe ten kids are coming over for the-best-2-year-old-birthday-party-ever! Ten minutes before everyone arrives, the birthday boy is laying on the floor sleeping and at first you think, “That is so sweet,” (famous last words); then you think, “This kid never stops at this time of the day, and he looks a little flushed.” Holding your breath, you reach down to feel his forehead with your Mom-ometer and sure enough, he is on fire!
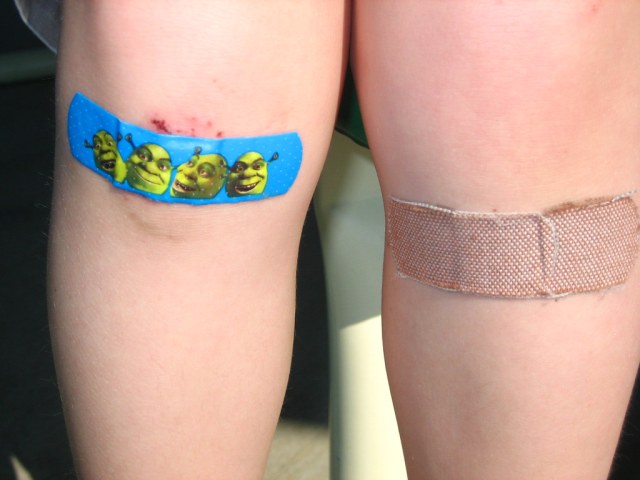
One of the main things we have dealt with in our homes and as after-hours nurses are the 2 a.m. calls that include everything from fever, vomiting and diarrhea to eye drainage and croup. The one consistent thing about injuries is that they are always unexpected. From the minor knee scrapes at the zoo to face plants when learning to walk—we have been there!
So, how do we plan for the unexpected at home and everywhere else our kids exist?
The answer is simple. We create two kits: one for on-the-go and one for home.
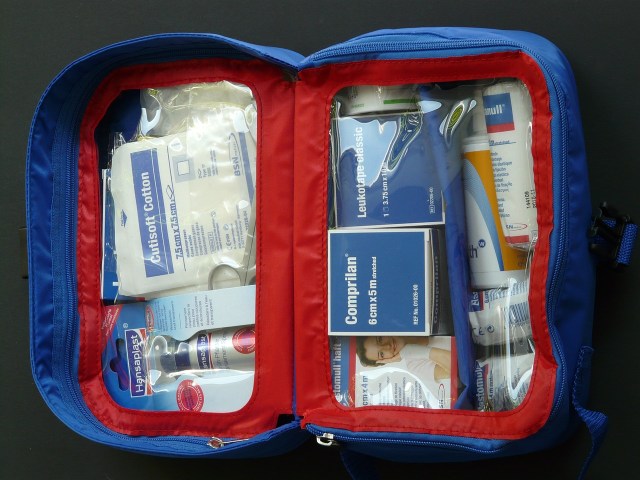
On-the-go First Aid Kit
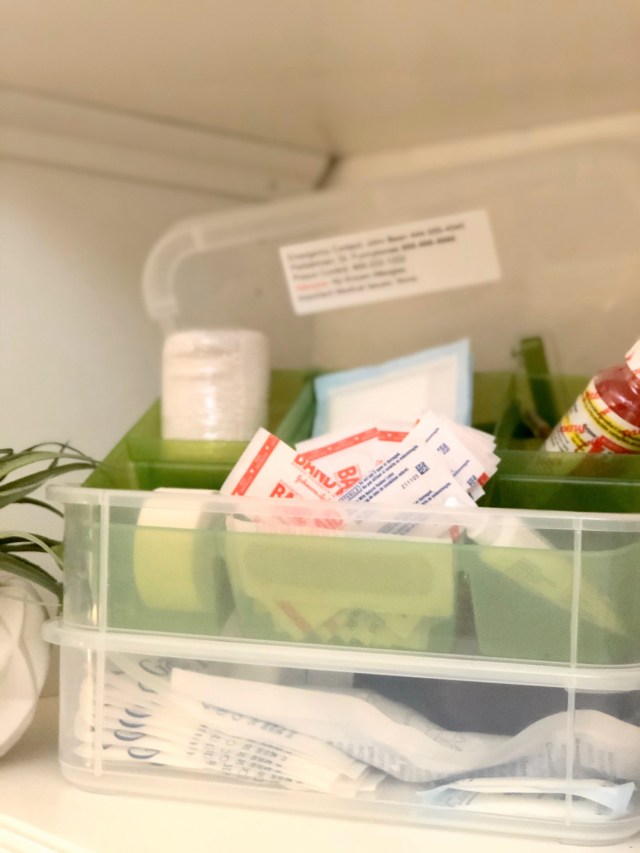
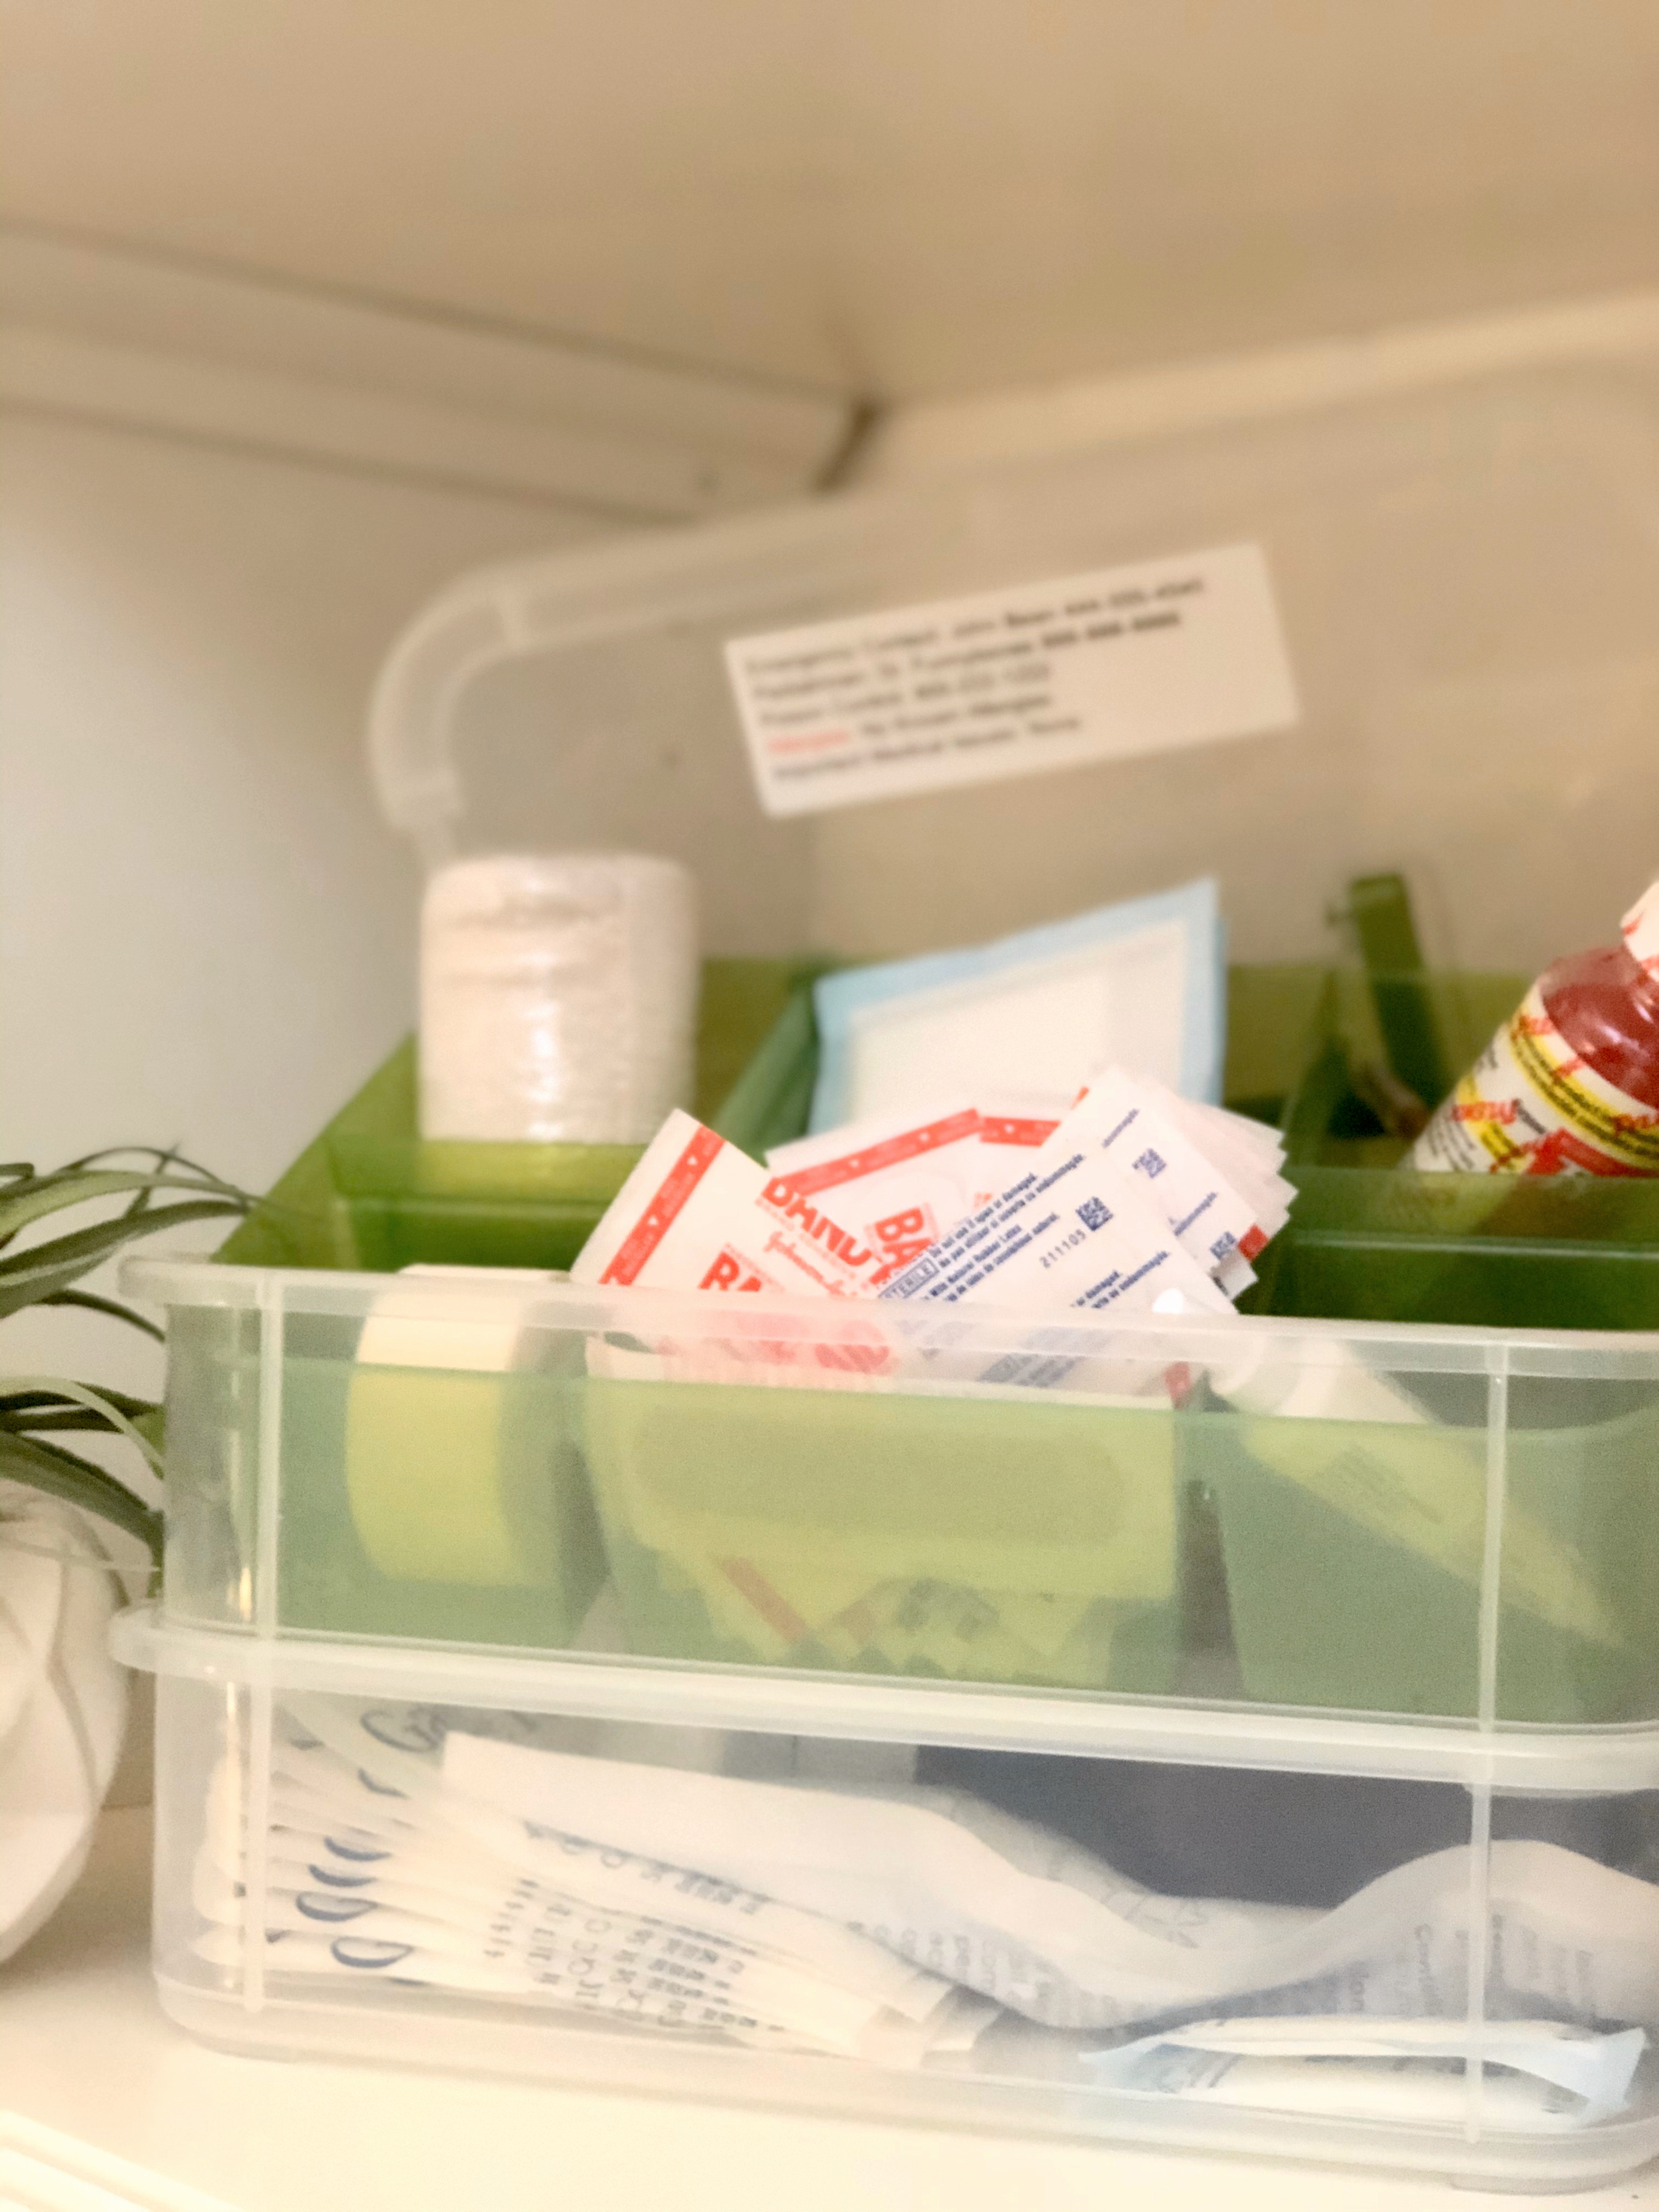
This is a small, secure backpack to throw in the car or in your stroller. It should include an index card with emergency names and numbers, poison control number, pediatrician’s number and any allergies or medical issues. This kit should include:
Minor cuts and scrapes:
-
BandAids®
-
Anti-bacterial wash
-
Pack of 4”x4” gauze and 2”x2” gauze
-
Ace Bandage
-
Medical tape
Itching and/or allergic reactions:
-
Hydrocortisone 0.5%
-
Diphenhydramine
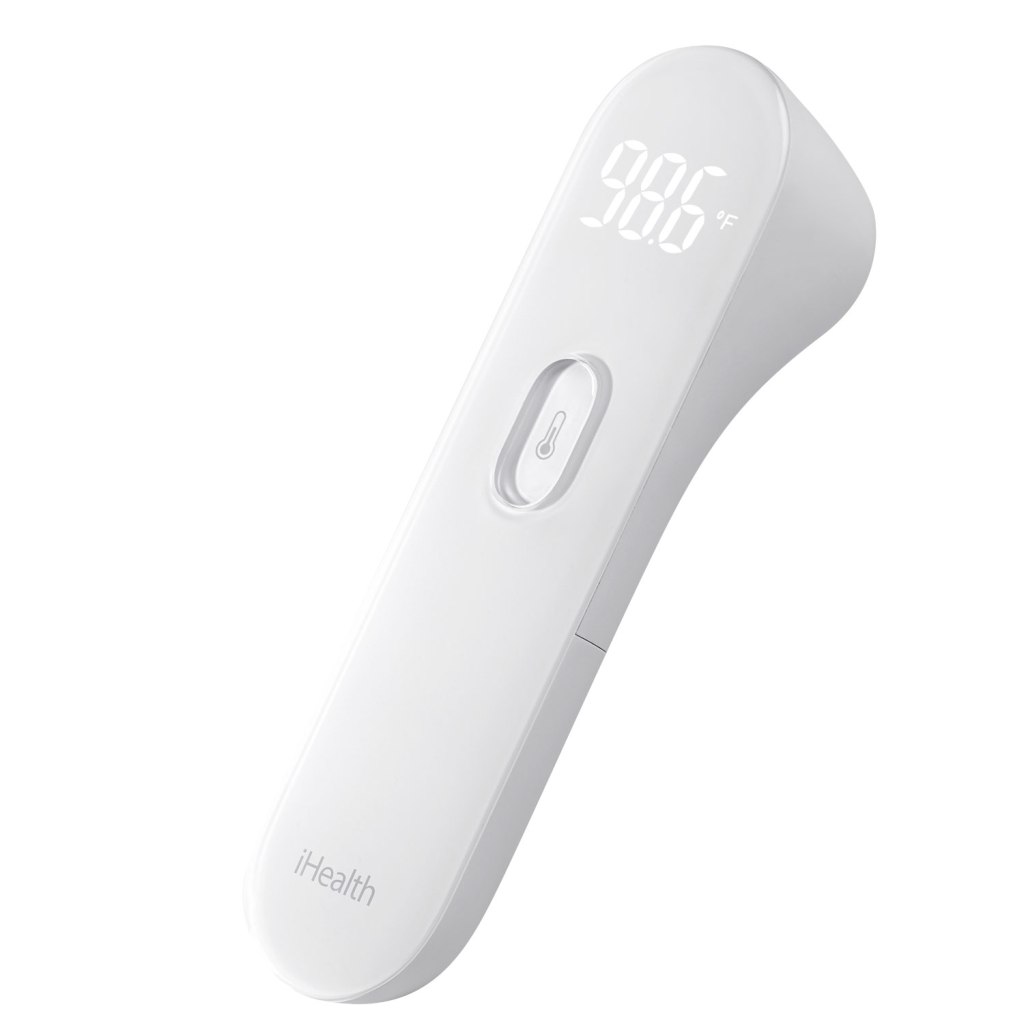
Fever:
-
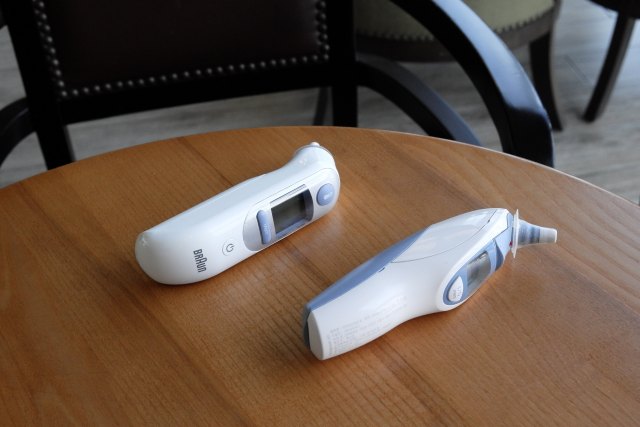
Digital thermometer
-
Children’s acetaminophen (pay attention to dosage instructions)
-
Medicine dosage syringes
-
Acetaminophen suppositories (to deliver meds when vomiting kids have a fever)
Miscellaneous:
-
Tweezers
-
Squeezable ice pack
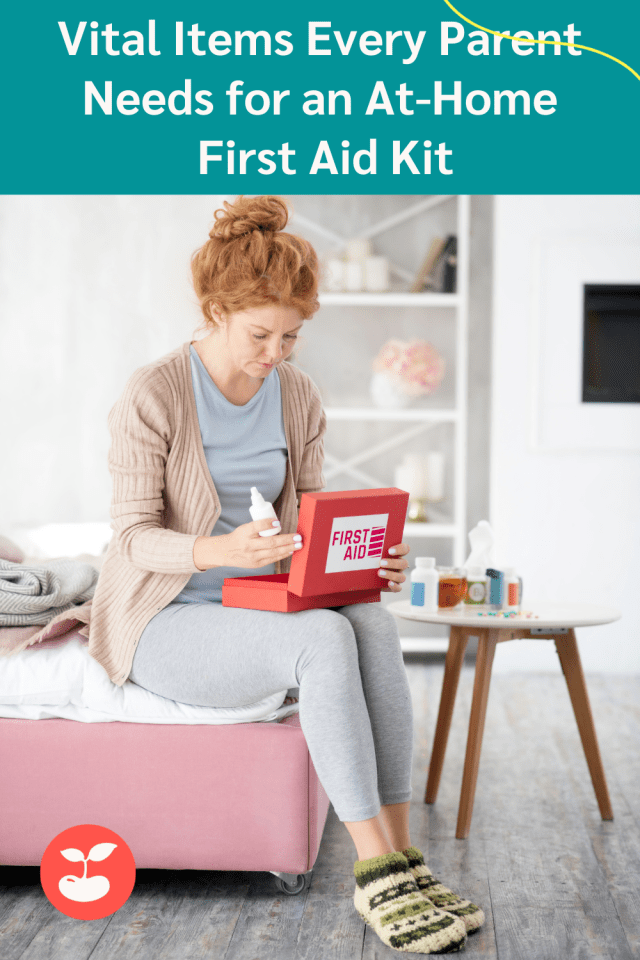
At-Home First Aid Kit
Ideally, this kit should have a combination lock; at the least, it should be kept well out of reach of curious kiddos. Like the on-the-go kit, this kit should include a card with emergency names and numbers, poison control number, pediatrician’s number and any allergies or medical issues. The at-home first aid kit should include everything listed above, plus a few additions:
Congestion:
-
Saline nose drops
Gas/constipation:
-
Gas drops (can give drops directly or mix in with formula or expressed breast milk)
-
Glycerin suppositories (for true constipation)
Miscellaneous:
-
Pedialyte® to replenish electrolytes (Pedialyte® freezer pops are great, too!)
-
Vaseline®
As with all medications, always check with your pediatrician for instructions on when to give and dosage. Many pediatricians have a “medication dosage” guide that will give you instructions on dosage by weight of many of the approved over-the-counter medications.
Minor injuries and illnesses are a normal part of parenthood. Always remember your children are strong, adaptable and resilient—and so are you. There will always be a first bump on the head, a first virus…and you’ll both get through it and come out stronger because of it. Be prepared, trust your gut and remember that you’re the very best parent for your little one. You’ve got this!

Laura Hunter Jennifer Walker
Tinybeans Voices ContributorWe’re Laura Hunter and Jennifer Walker, also known as Moms On Call. We’re pediatric nurses with 20+ years of experience, plus eight kids between us—including two sets of twins! We understand parents because we are parents. We started Moms On Call to cut through the noise with honest, common-sense advice.