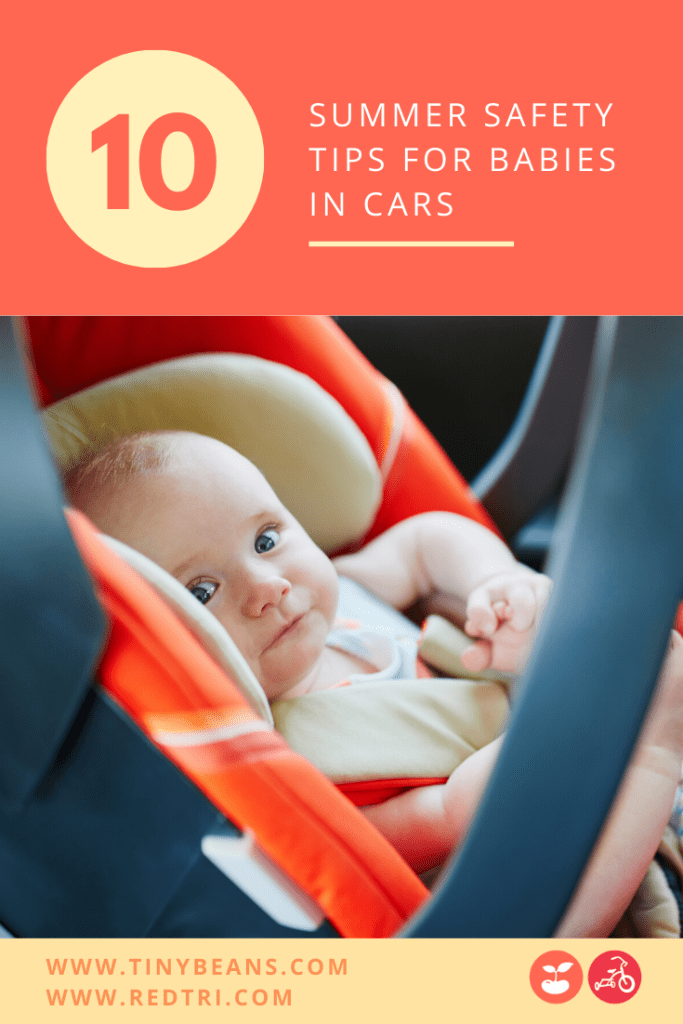
If you’re spending time in the car this summer, arm yourself with water, snacks and some very good advice. Read on for our top 10 tips on keeping babies and toddlers safe in the car on warm summer days.

photo: iStock

1. Get your car seat inspected.
More than half of all car seats are installed incorrectly, according to the National Highway Traffic Safety Administration. And since people tend to spend more time in the car during the summer, it’s a good time to find the nearest car seat inspection station, usually at a local police or fire department. The experts there will inspect your car seat and show you how to install it properly, usually at no charge.

2. Cool the car down quickly.
A hot car is uncomfortable for everybody, especially kids. If you’re getting into a scorching car, crank up the air conditioning and open the windows first to push out that hot air. After a few minutes, when the car is cooler, get in and roll up the car windows and let the AC keep working its magic. Also, when placing your child in the car seat, watch those metal buckles, which can get blazing hot on warm days. When your car is parked outside, keep the metal parts out of direct sunlight, tucking them into the car seat straps or placing a towel or light blanket on top of the metal when your child is out of the car seat.

3. Inspect your tires.
How are tires like babies? They’re both prone to blowouts, and tires are more likely to have them during the summer months. Blame the combination of hot weather, longer drives and cars packed full of road-trip gear. Regularly check your tire pressure and the condition of your tires to stay safe.

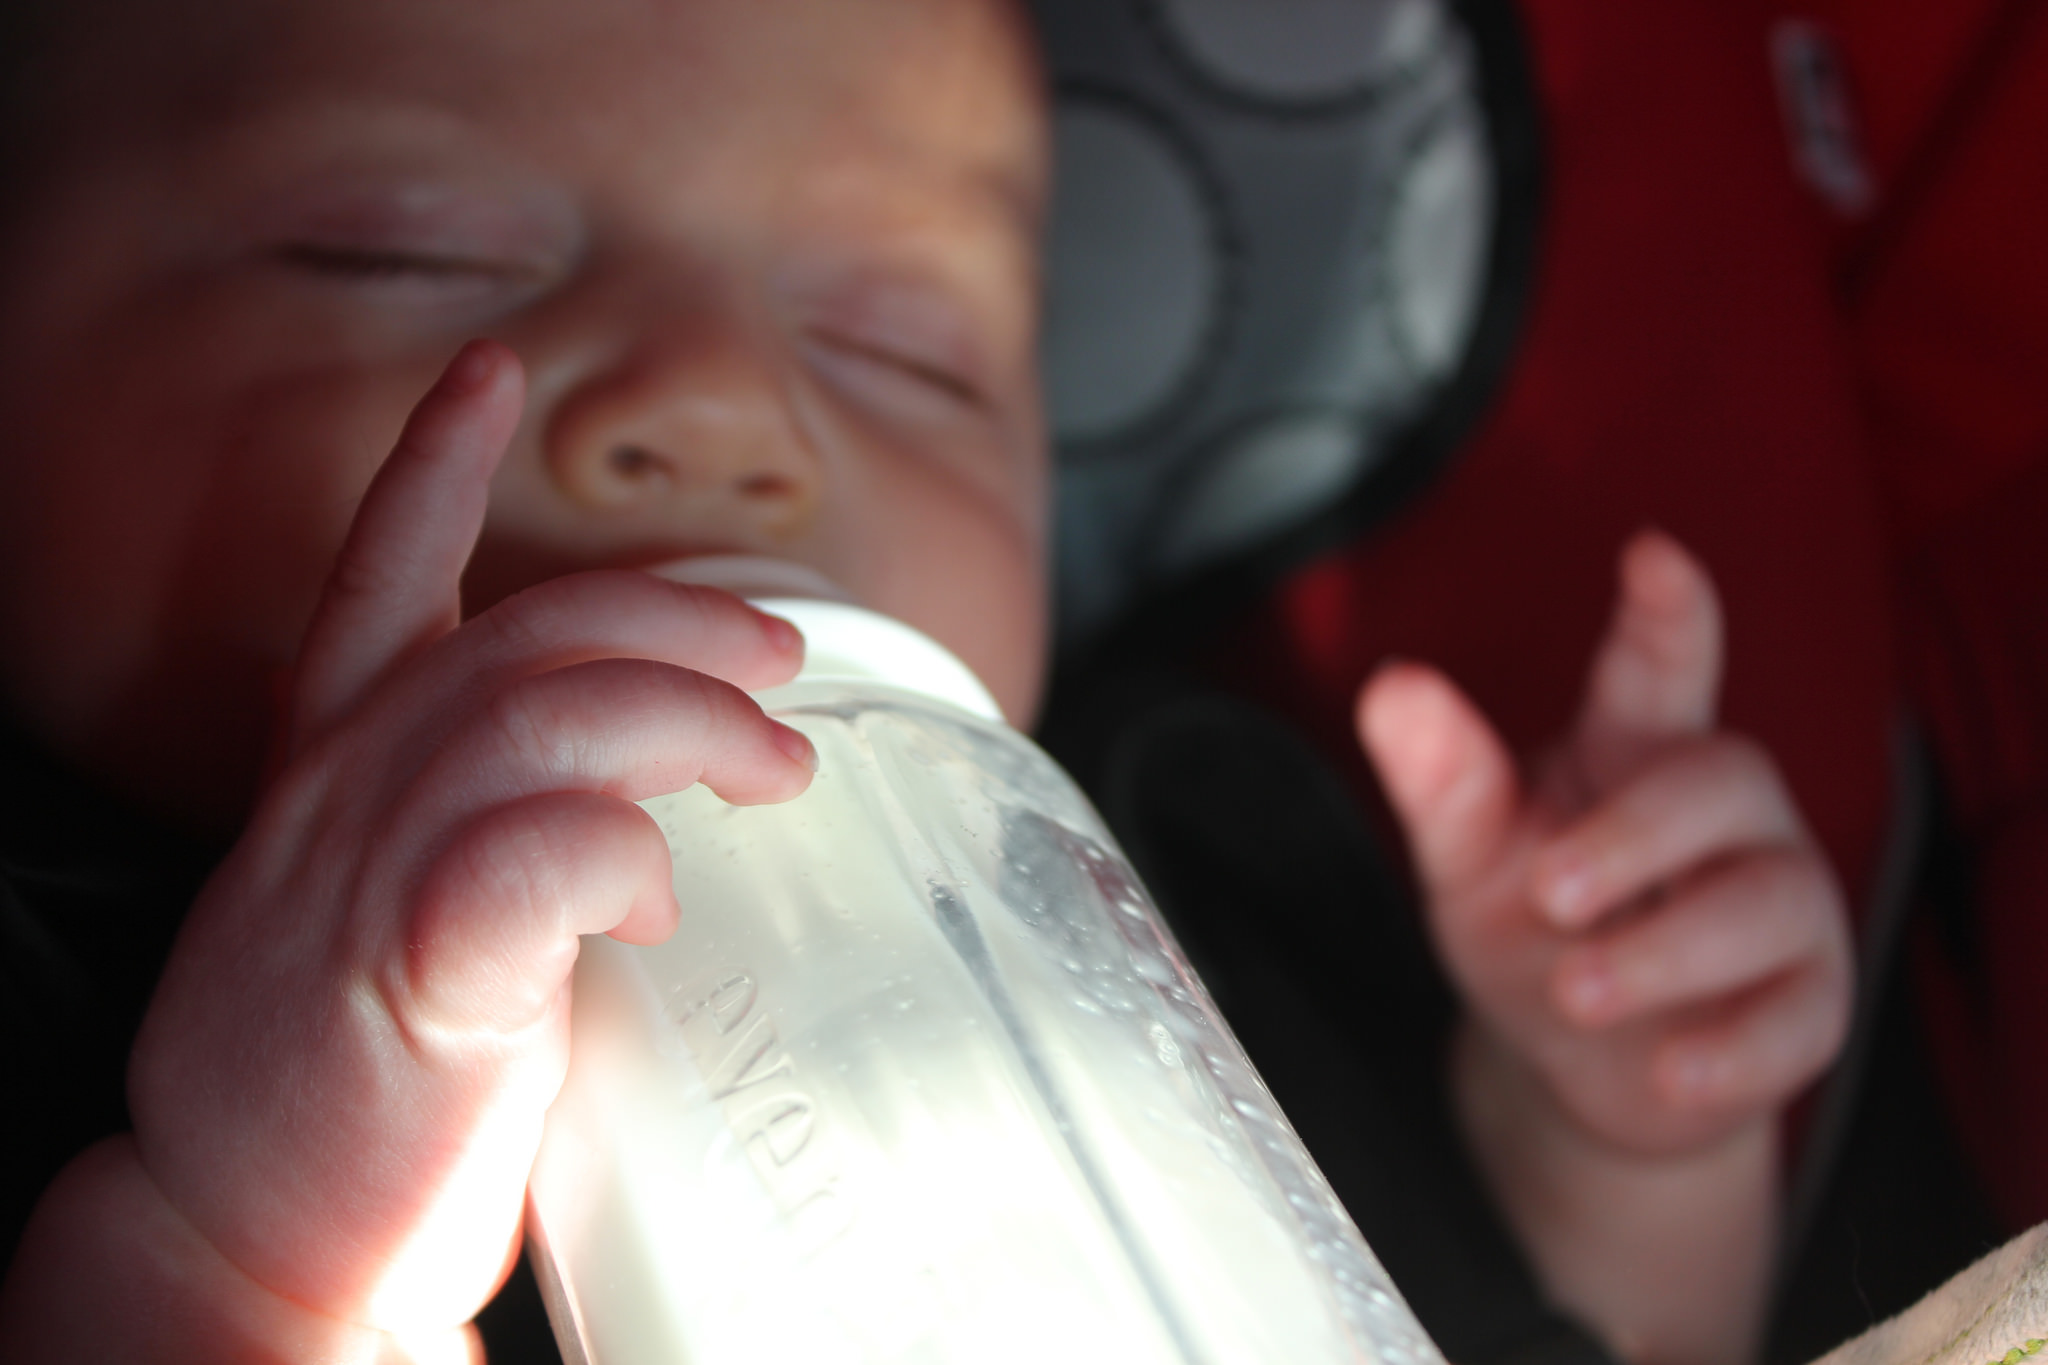
photo: Quinn Dombrowski via Flickr

4. Pack extra liquids.
On hot days, kids need lots of liquids to stay hydrated. Keep bottles of breast milk or formula in coolers with ice packs. And if your baby is drinking water, always pack more than you think you’ll need. Breastfeeding moms need lots of water too!

5. Keep cars locked with car keys out of kids’ reach.
Babies love playing in cars and fiddling with car keys, especially hitting the lock button to hear the beep it makes. To avoid having them lock themselves inside the car when you’re outside of it, or climbing into the car when you’re not there to supervise, always keep cars locked, even in the garage, and store keys out of reach from tiny hands. This is important year-round but especially so on hot days when temperatures inside the car can get dangerously high.

6. Don’t cover the car seat with a blanket.
A blanket may help your child fall asleep in the car seat, but even a thin muslin covering can make the temperature under that blanket way too hot. You also want to be able to see your child while you’re driving, which brings us to our next tip….

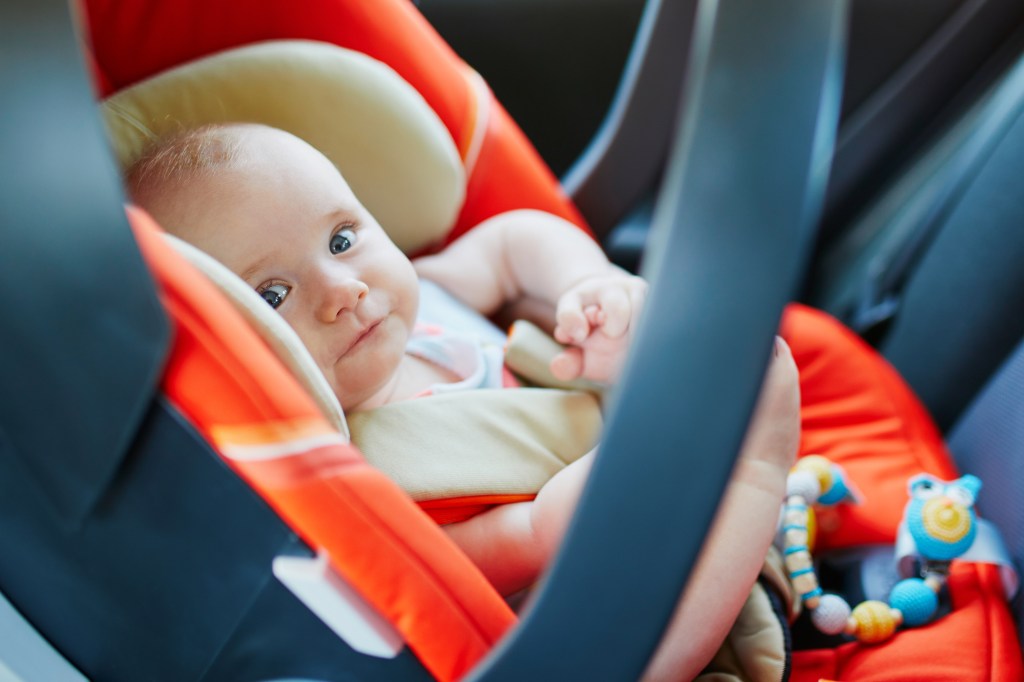
7. Install a backseat mirror.
Set up a mirror that allows you to see your child’s face from the driver’s seat when they’re in a rear-facing car seat. That allows you to keep an eye on them to make sure they’re comfortable and not overheating.

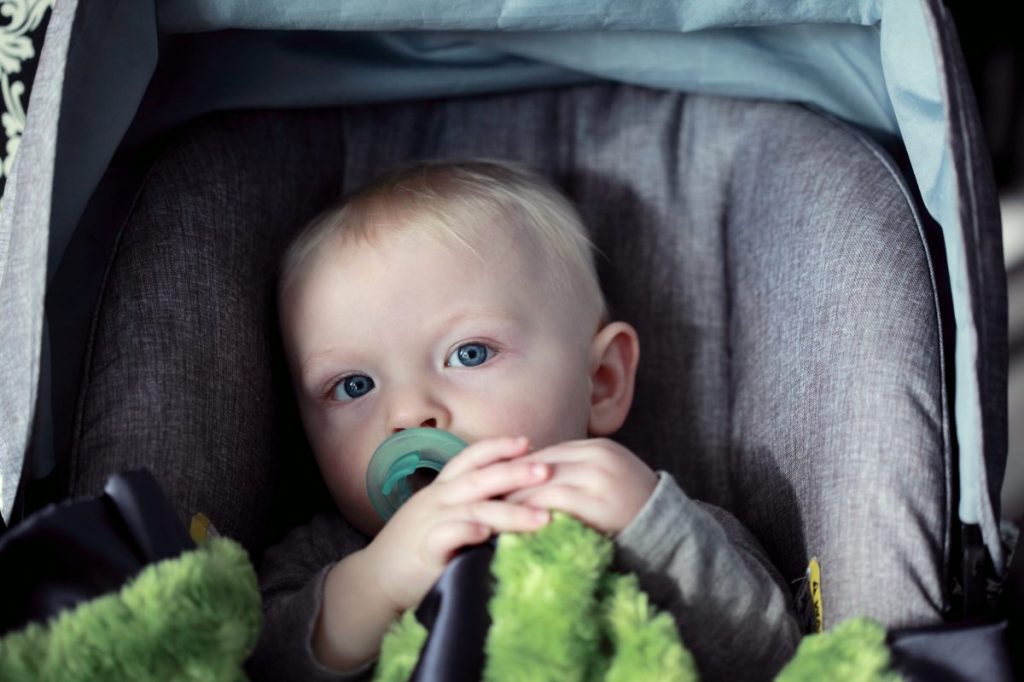
photo: Sharon McCutcheon via Unsplash

8. Adjust your car seat straps.
If you dressed your baby in bulky clothing on cooler days, the car seat straps may be too loose once your child is in light summer outfits. Straps should be tight enough that you can only fit one finger underneath them, and the buckle should sit across the armpit. Adjust the straps each time you place your child in the seat to make sure they fit comfortably.

9. Never leave your child alone in the car. For real.
Even if you only have a quick errand, even if your baby has finally fallen asleep, even if you crack the window open for air flow, you should never leave your child unattended in a car. A child’s body temperature heats up more quickly than an adult’s, and even a few minutes alone in a hot car can be life-threatening.

10. Check the back seat.
Forgetting a child in a car seat is many parents’ worst fear. To avoid it, leave your shoes, wallet or smartphone in the back seat so you have to go back there to retrieve them before you leave the car. Or, let technology help. The CoPilot Carseat Alert System uses a sensor that clips on to your car seat and a key fob to alert you if you walk away from the car without unbuckling your child first. The eClip ($49.95) from Elepho is a small device that attaches to your car seat and syncs up to an app that reminds you to get your child if you move more than 15 feet away from the car. And if you use the Waze app for driving directions, turn on the Child Reminder feature, which instructs you to check for your child as the last step in the directions.

—Eva Ingvarson Cerise

featured photo: iStock


RELATED STORIES:

10 Top Tips for Road Trips with Babies

The Best Infant Car Seats

Be Sun Smart With Baby: 10 Summer Safety Tips to Follow

We are in the thick of winter so we are craving more sunlight and warmer temps. For now, however, we’ll have to deal with the uninspired forecasts. In addition to the lackluster weather, we are in a constant battle to keep the cold and flu germs away. And if you have lost that battle, you are not alone my friend. I am here to admit that I recently had a house full of moderately ill little ones. In fact, I too fell ill. And it was horrendous. I was weak and barely dragging myself around while my kiddies had all the energy in the world. Literally, if it weren’t for their runny noses, you wouldn’t have been able to tell they were sick. But as a mama (or papa) you still have to go on. Life doesn’t stop just because you’re sick. So how did I make it through? I’ll share my simple tips:

1. Rest. This may seem obvious to some but there are those out there who will still try to do everything they usually do while they are sick. Listen, your body is trying to heal and repair itself. It’s ok to slow down a bit. You won’t be able to completely stop, especially if you have toddlers but you can at least modify what you would usually do. And speaking of toddlers, communicate with them that you aren’t feeling too well. I did just that with my four-year-old and it helped her to understand why mommy wasn’t as energetic as usual. 

2. Get help. Whether it’s a family member, neighbor or friend, you may need some backup. My husband was able to stay home one of the days I was sick and it helped tremendously! Just having another adult in the house allowed me to let my guard down even more. I napped when the kids were up- something I obviously wouldn’t be able to do had he not been there. Getting help could also mean ordering out or having sandwiches for dinner. Again, don’t pressure yourself into your usual way of doing things.

3. Get some fresh air ASAP. Chances are that if you get sick, you’re going to be stuck in the house for a few days—not fun. So as soon as you start to feel a little better, get some fresh air. Even if it’s to just go on your front steps for a few moments—bundle up and enjoy some sun rays. 

4. Remember that this too shall pass. When you’re in the thick of the battle, it can seem like it’ll last forever. But before you know it, you’ll be back on your feet like new. So don’t let yourself get down. Go through the process and allow yourself to properly heal. 

I hope these simple tips help. They may not change the weather but they’ll keep you going when the cold and flu bug tries to stop you. 

Hi Everyone. I’m Amber. I’m a wife and mom of 2 beautiful princesses. I was born a creative and I’m learning to find creativity in every area of my life. I’m a lover of all things beautiful but I’m also drawn to the broken because there’s always room for restoration. 

Why use a traditional nightlight, when you can have an incredible glow-in-the-dark succulent from ALDI to light up your kid’s bedroom at night?

ALDI is selling Glowing Star in the Dark succulents, which are real live succulents treated with a special coating that makes them glow in the dark. When placed in sunlight the plants absorb the light, essentially charging them so they can then glow when the lights go out.

The succulents are live plants so you need to care for them the same way you would with a regular succulent. You can keep them outdoors in warm summer months, but will need to fid a cozy indoor space when it turns cold, like a window sill in your kid’s room where it can charge and glow all night.

The Glowing Star in the Dark succulents are available at select ALDI locations for $5.99 each.

—Shahrzad Warkentin

Featured photo: Jacco Huibers via YouTube


RELATED STORIES

ALDI’s 2019 Advent Calendar Line-Up Is Christmas Countdown Bliss

ALDI Has Caramel Macchiato Cupcakes for Less Than Actual Macchiatos

Aldi Has Unicorn Pancake Mix & It’s Filled With Marshmallow Magic


Let me just start off by saying honestly and sincerely, no judgment for what might have gone on in the last couple of months. I know…I’m a pediatric sleep coach and you may think that I’m going to chastise you for the late bedtimes, unenforced rules, inconsistent schedules, or any of the many “inadvisables”
that may have occurred over your summer vacation.

But I get it. I know how precious the summer months are. You want to squeeze in every minute of joy and togetherness during the long, glorious days. If it’s a choice between bedtime battles or staying up to watch the fireworks, c’mon, that’s a no brainer.

No matter what might have happened over summer vacation, consider it all forgiven. The mission now is to get your child back on track so that they can get to sleep at a reasonable hour as they head into their first week back at school. Here are my top tips for sleep success this fall:

How Much Sleep Does My Child Need?

First things first: What time should your child be going to bed? Many parents I work with are surprised to hear that I recommend sometime between 7:00 p.m. and 8:00 p.m. They’re even more surprised when I suggest keeping that time frame until their child is about 12 years old. There are two reasons why I think kids should be in bed by 8:00 p.m.

  1. Kids need, at minimum, 10 hours of sleep each night.

If your child needs to be up by 6:30 a.m. in order to get to school, they should be asleep before 8:30 p.m. Factor in the time it takes them to fall asleep after they get into bed, and they should be in bed well before this time in order to get the sleep they need.

  1. You, as a parent, need to exist child-free for a few hours a day.

You need to be able to watch mindless TV, to eat some junk food without fear of being spotted, and to just do grown-up things and recharge those parenting batteries. It is vital to your relationship with your partner and with your kids. 

So now that we know when to put our kids to bed, let’s move on to the significantly more difficult issue of how.

Adjust the Schedule Gradually

Hopefully you’re reading this while there’s still a couple of weeks before school starts because the easiest way to get back on track is little by little.

If your child has been going to bed around 9:00 p.m. all summer, try moving up bedtime by 15 minutes every 3-4 days until you’re back to their normal, more age-appropriate, bedtime. If this requires a little deception on your part by adjusting the clocks in their bedroom, just go ahead and get sneaky. Sometimes the ends really do justify the means.

Embrace a Bedtime Routine

If you had an effective bedtime routine before your summer vacation threw everything off, then try to re-implement it as much as possible. Familiarity will definitely help your child settle back into a schedule quicker and with less resistance than trying out something new.

On the other hand, if this is your first time implementing a bedtime routine, let me stress how much easier a repetitive, predictable bedtime routine can make your life. When your child’s body and brain start to associate things like taking a bath, brushing teeth, reading stories, and putting on pajamas all in the same order at the same time every night, it cues up their melatonin production making sleep come easier. I seriously cannot recommend bedtime routines highly enough. 

Use a Timer

Of course, things like baths and stories are super fun so there is a tendency for your child to try and negotiate for more time in the tub or just one more story. If you find yourself constantly having to play sheriff, a timer can be your best friend for keeping things on schedule and take the blame off of you. Mom may be able to be reasoned with, but a timer is pretty black and white.

Limit Screen Time

Along with slack enforcement of bedtimes during the summer, we also tend to ease up on the rules surrounding TV, video games, or otherwise staring at screens during the hours leading up to bedtime. When there’s no homework to be done, it’s much easier for the empty time to be filled in front of our devices.

The thing about screens—whether they’re phones, tablets, TVs, or computers—is that they emit a massive amount of blue light. This blue light can inhibit melatonin production so screens before bed can actually have the unwanted effect of firing your child’s system back up when it should be powering down. Try to avoid any screen time for at least two hours prior to bedtime. (Note: this also applies to adults, so if you’re having trouble falling asleep at night, try reading instead of watching TV before you turn out the lights.)

Make it Dark

While we’re on the subject of light, many of you living in the northern areas of the planet may notice that it’s still not getting dark until after 8:00 p.m and the only thing that simulates sunlight more than a TV screen is…well, actual sunlight. If your child’s bedroom is still light when you’re putting them to bed, I suggest investing in black-out shades.

Firm Up Boundaries

One final note: Experiencing some leniency regarding bedtime can suddenly transform your child into quite a sharp lawyer. Arguments for why they should be allowed to stay up later are likely to be heard for at least a few days and potentially the next several years. Luckily, parenting is not a democracy. It is a glorious dictatorship where “Her Highness, Mom” gets to make all the rules. Don’t give in to the pressure, because as I mentioned earlier, an early bedtime should be in place for several years. The sooner they accept that as the norm and their summertime hours as special circumstances, the easier the whole “bedtime thing” will be for you both.


I hope you’ve had a wonderful summer vacation and that your children are looking forward to starting school again. I promise that no matter what grade they are heading into, nothing will help them begin a new school year with a better attitude and a more positive outlook than plenty of sleep.


Jamie is a Certified Pediatric Sleep Consultant and offers personalized sleep solutions to exhausted families nationwide. With a background in child development and infant mental health, she keeps up to date on the latest evolutions in the field which allows her to blend technical knowledge with empathy and compassion to tailor her support.

Cloth diapering is making a comeback with modern parents due to its many benefits to the environment, the budget, and baby’s comfort. There is a common misconception that cloth diapering requires a lot of work, but it doesn’t have to be that hard. 

If you are prepared – both with your supplies and knowledge of what to expect – just about every parent can succeed with cloth diapering.

Types of Cloth Diapers

In order to be prepared, you will need to know that there are actually several types of cloth diapers. While they all work in a similar manner, the type you choose can make a difference in the ease of diapering and the impact on your overall budget.

There are two main components to a cloth diaper: the diaper itself and the insert. The insert is the absorbent part, making it necessary for keeping the outer diaper as clean as possible as well as your baby’s clothes.

Some diaper types – like flats that you have to fold and fasten yourself – aren’t as popular today as they were many years ago. Most parents today opt for something more modern, like the pocket diaper or sleeve diaper (both work the same way), which fits like a disposable with a small pocket to slip the absorbent insert into.

All-in-one diapers are the premium choice for parents who want a quick and easy diaper change. They just have one part with no insert to deal with. The biggest downside to these, however, is the fact that they take so long to dry since the absorbent part is very thick.

You may choose to take a step down and go with a two-in-one diaper. They are easier than other diapers with inserts that need to be folded since the insert is simply a piece that snaps into the diaper.

The Good

Cloth diapering can be a solution for common issues that affect you and your baby personally as well as issues that have a greater impact on the environment.

First, cloth diapering is eco-friendly. Yes, it may take a bit more water to wash them, but the big difference is found in the landfills. Though disposable diapers do break down with oxygen and sunlight, they don’t decompose very efficiently in a landfill. Using cloth diapers keeps our landfills cleaner.

Not only are cloth diapers easier on the landfills but they are also easier on the wallet. It may be a bit difficult to swallow the initial cost of supplies, but if you look at what it would cost to keep your child in disposable versus cloth diapers until they are ready to potty train, you would be looking at saving at least $1,000 (over a period of 2.5 years).

Finally, cloth diapering can be a solution for babies who may have sensitive skin or allergies. Disposable diapers can be scratchy and made with materials that can irritate the skin and make your baby fussy; cloth diapers are much softer. You can also wash cloth diapers with the same gentle detergents you use for your baby’s cloths to help eliminate irritants.

The Bad and The Ugly…And How to Make it Pretty

While all these things are well and good, there are still some inconveniences that come with cloth diapering. But if you know how to handle them or the tricks to make them easier, these inconveniences won’t bother you as much.

It is true that cloth diapers are a bit messier than disposable ones. They aren’t as absorbent (thanks to the absence of synthetic gels and substances that absorb liquid in disposables – a positive!) which means you may have a few more messes to clean up.

Diaper changes aren’t as easy either since you will have to scrape poop into the toilet and rinse diapers before you can put them in the laundry – not to mention how often you will have to do laundry in order to keep up with your diapering needs.

So, how do we make these things better?

First, it doesn’t have to be all or nothing. You can ease your way into cloth diapering by just using disposables sometimes. You can also use a hybrid diaper which combines the best of both worlds – a washable cover with a flushable insert.

Flushable liners can also take the work out of scraping poop into the toilet. All you have to do is wrap up the dirty stuff and throw it in the toilet with the liner. Unless there’s a blowout, there’s no mess on the actual diaper to clean.

Is Cloth Diapering RIght for You?

The decision to cloth diaper is one only you can make. Every family is different. 

There are many that still prefer the convenience of a disposable diaper. There’s no denying that they are easier to travel with and take a lot of the mess out of diaper changing. And there is nothing wrong with parents who make this decision; it is what works best for them.

Cloth diapering does take a little more commitment and discipline. But if you choose the right diaper for your lifest‌yle and have a good stock of them, cloth diapering can be just as easy as disposables.

Photo: istock


With summer quickly approaching (though to be honest, here in Arizona, we’ve been sweating for weeks already) many parents are worried about weekend travel, late sunsets, and frequent BBQs totally derailing the wonderful sleep routine they’ve spent all winter working on. This fear is completely well-founded—sleep during the summer is hard. Between the travel, the excitement of not being in school, increased outside play, and late bedtimes, it’s easy to for schedules and routines to fall by the wayside (be that intentionally or unintentionally).

But even though it’s summer, babies and young children still need to be sleeping well. If you’re committed to maintaining some healthy sleep habits this summer (while also living your best life), it’s totally possible. With some strategic planning and firm boundaries, here’s how you can keep sleep on track this summer. 

Make the Bedrooms Cool and Dark

Since the production of melatonin—our sleepy hormone—is impacted by light, having a super dark bedroom will make it easier for your child to fall asleep (and stay asleep) even with the extra hours of sunlight. It should be as dark during the day for naps as it is at night. You may have to get a little creative here. If you don’t already have blackout curtains, I recommend adding them to your Amazon cart STAT. But sometimes, even that isn’t enough. I’ve worked with families who have used tinfoil to block the window, tacks, and tape to bolster the sides, and towels to keep light, from under the door, out.

It is also important to make sure that your child’s bedroom is cool. In the hot summer months, it doesn’t take much for the room to warm up during the day. The optimal temperature for sleep is between 68°-72°F. If you cannot keep it that cool in the house, consider using a fan, light-weight pajamas, and fewer blankets (where appropriate).

Maintain a Good Bedtime Routine

Just because it’s summer, doesn’t mean you can’t continue your bedtime routine as normal. Sure, you may have a late night here and there and your little one will fall asleep in the car on the way home, but when possible, giving your child the predictability of a routine to fall back on will greatly help sleep stay on track. Bonus: It will also help ease the transition when school starts up again in the fall!

Schedule Downtime

One of the biggest mistakes parents make during the summer is over-scheduling themselves and their children. While it is definitely important to be outside, enjoying the sunshine and plethora of summer activities, it is also important to prioritize rest. Babies and young children can become overstimulated very easily so it’s important to honor naps and quiet time. If your child is still napping, having at least 30 minutes of downtime before trying for a nap or going down for bed can drastically help your child fall asleep. Giving your child’s body the chance to slow down is important. If you told me right after I walked out of the gym that I was supposed to lay down and fall asleep right away, I’d struggle too! And even if your child is no longer napping, quiet time is still helpful. Plan for at least 30-60 minutes during the day where everyone can take some time to recharge their batteries. This may not happen every day, but if you can make it a habit 80% of the time, you’ll all be better for it.

Stay Consistent When Traveling

It’s easy to bend to limitations and pressures around sleep during summertime travels. Maybe you’re sharing a room with your kiddos in a hotel or you’re staying with family members who are light sleepers. If you begin to relax your boundaries and let your little one into bed with you or begin feeding them all night long to keep them from crying out, you can see how easily a slip can turn into a slide. Older toddlers may test your boundaries around this: Are the rules at Grandma’s house the same as the rules at home? Maintain structure and hold firm to your priorities as much as possible and sleep should stay on track when you’re back home.

Honor Sleep

While summertime often means more travel, more activities, and a busier time in general, you can still make sleep a priority. Each child is different in how they react to changes in their schedule and how well they will sleep on the go. Especially if your child is a bit more sensitive, giving them the best environment to sleep in as often as possible can make a world of difference in keeping sleep on track. If your child is on multiple naps, prioritize having the first one at home if you can. It will make for a more pleasant child as you go about your fun summer activities!

While it is true that the best-laid plans often go awry, that doesn’t mean that you cannot strive for keeping sleep on track this summer. Be honest with yourself about what your priorities are and do not be afraid to voice them to friends and family. Enjoy the sunshine, travel, and quality time, but enjoy that sleep too!

This post originally appeared on Oh Baby Consulting.

Jamie is a Certified Pediatric Sleep Consultant and offers personalized sleep solutions to exhausted families nationwide. With a background in child development and infant mental health, she keeps up to date on the latest evolutions in the field which allows her to blend technical knowledge with empathy and compassion to tailor her support.

Young astronomers and stargazers alike will be treated to a rare sight when they look up at the night sky later this month and spot the first total lunar eclipse of 2019. Dubbed the “Super Blood Wolf Moon,” the name alone is enough to get us excited!

So what does this crazy name actually mean? Between Jan. 20 and Jan. 21, you’ll be treated to a total lunar eclipse of a supermoon (a.k.a., the term for when the Moon is full and super close to Earth at the same time.) The reddish copper hue that covers the Moon during the event is what makes it a blood moon. As for wolves? The Wolf Moon is typically what the first full moon of the year is called.

photo: Matteo Grassi via Unsplash

But why does a lunar eclipse look red? Astronomer Pamela Gay explains to Space.com. “A blood colored moon is created [by] ash from fires and volcanoes, … dust storms and pollution all filtering sunlight as it scatters around our world,” she says. “A grey eclipse is clear skies. Our world can change the appearance of another world, and during an eclipse, the universe lets us see this color play.”

The eclipse will be visible from anywhere in the United States, provided it’s not cloudy where you are. The event will begin with a partial eclipse around 10:30 p.m. Eastern on Jan. 20 and reach full eclipse by 12:12 a.m. Eastern on Jan. 21.

For kids on the West Coast, that means they’ll be able to catch sight of the full eclipse without sacrificing bedtime at 9:12 p.m. Pacific on Jan. 20. Regardless of where you live, this is a rare event worth staying up for as the next total lunar eclipse visible from the United States won’t happen again until May 2021.

You can check out TimeandDate.com for the exact timing of the eclipse in your own neighborhood.

Happy moon gazing!

—Shahrzad Warkentin


RELATED STORIES:

Netflix’s New Science Show “Brainchild” Is the Next-Gen Successor to Bill Nye

There Are 21 New Constellations in the Night Sky to Point Out to Your Kid

This Outdoor Planetarium Will Change the Way You See the Stars

Does Your Kid Need an Astronaut Pen Pal? Um, Yes. Yes They Do

Photo: Rawpixel

Going green is easier said than done, especially when you have kids. You do your best to install eco-friendly products and appliances, but you’re still surprised when you get an expensive monthly utility bill.

Naturally, it’s easy to blame it on your kids. You tell them to be better about their energy use, but they don’t listen. It can seem like a never-ending battle between parent and child to save energy and it’s easy to give up or feel discouraged.

Thankfully, there are tools and resources that parents can use to fix this never-ending cycle of energy waste. Here are three things you can do to help your kids become the ultimate energy conservationists.

Show Them Why Conserving Energy Matters

If you’re like me, you look for the path with the least resistance when it comes to parenting your children, often times saying “Because I said so” works. However, this may not be the best thing to say when you’re trying to instill eco-friendly habits into your son or daughter. Instead, show them why saving energy will be beneficial for them and the planet.

There are multiple ways to do this, but NASA has a great resource for both parents and children to learn about the importance of energy conservation. Talk through the following basic concepts with your child: “What is a climate? What is weather?”

After you lay the groundwork , start adding in the next layer for them: “Why is the earth getting warmer? Why should we care about the earth getting warmer? What can we do to slow down or stop climate change?”

Show Them How to Conserve Energy at Home

Now that your children (hopefully) understand the importance of saving energy, it’s time to show them how to use less of it. There are many things you can do to save energy in your home, but I would just start with the simple things.

Turning off the lights when you leave a room is probably the lowest hanging fruit when it comes to saving energy. It’s not a hard concept to teach and it’s an easy habit to develop. Conserving water is also a straightforward principle for kids to understand. Try teaching them to shut off the faucet while they are in the middle of brushing their teeth or washing their hands.

The thermostat is also a good place to show your children how to save energy. It’s tempting to crank up the heat or air conditioning when it’s hot or cold outside, but increasing or decreasing the thermostat temperature by small increments can make a big difference for your home’s internal temperature.

Some other habits you can teach your children:

  • Shutting all of the blinds and drapes during the summer months. Blocking the sunlight from entering your home will help keep your living space cooler.
  • Opening all of your blinds and drapes during sunlight hours during the winter. The natural heat from the sun can do wonders to warm your home.
  • Not opening the oven door while baking. Ovens lose a lot of heat if you open their doors during the baking process. It takes a significant amount of energy to reheat them.
  • Using desktop lamps instead of overhead lighting. Lamps use a lot less electricity than conventional overhead lightbulbs. Using energy-efficient bulbs are helpful, too.

Show Them Saving Energy Can Be Fun

It’s not fun being the thermostat or light police. But saving energy can be an enjoyable experience for your family. Try the following creative ideas that your children can participate:

  • Energy treasure hunt. Have your kids search the house for devices or appliances that use a lot of energy.
  • Family teaching night. Encourage your kids to teach the rest of the family about the importance of conservation.
  • Family bike rides. On your next family outing, ditch the car and ride your bikes together.
  • Home improvement projects. Next time you’re doing a home improvement project to save on your utility bills, have your children help! It can help them feel more involved.
  • Reward systems. Setting up some sort of a reward system can motivate your kids to stay consistent in their energy-saving efforts.

It will require some creativity, but there are a lot of activities you can do with your children to get them excited about using less water and electricity.

Decreasing your family’s energy consumption is no simple task—but it is achievable. Education, consistency and creativity can help your family be energy savers rather than energy wasters.

Act now to instill lifelong eco-friendly habits into your children. The Earth (and your wallet!) will thank you.

Brandon Jarman is a recent Brigham Young University graduate who is currently living In Salt Lake City. When he’s not writing, he enjoys spending time with his family, hiking and eating delicious Mexican food. He and his wife are expecting their first baby at the end of August.

Being a pro at parenting has some perks, but it doesn’t always mean it will be easier the second, third or even fifth time around. Although now the mom to five kids, Joanna Gaines is a new mom again at 40 and those long nights with a newborn are still just as rough.

Gaines shared a very familiar photo on Instagram depicting her all-nighter with two-month-old baby Crew. Sunlight streams in on what appears to be a now finally-sleeping baby, surrounded by the evidence of what was clearly a challenging night for mom.

Dish soap, baby wipes, discarded baby clothes and blankets are strewn all over the otherwise picturesque room (I mean who are we kidding, even messy this Fixer Upper’s house looks fab).

The photo caption reads, “Evidence of a late night up with my boy” along with the hashtags “blowouts #allnighters and #thisis40. It doesn’t require many words to explain the feeling that every new—or new again—parent has experienced in those early days.

Gaines has been candid about baby Crew being a surprise addition to the family and that it can be hard to start over with a new baby after so many years away from diapers. In July, Gaines told People what it’s been like to be a “new” mom after 8 years: “I have forgotten almost everything, so it feels brand-new.”

Even so, for Gaines, ages is just a number. “I tell Chip that I feel 25, and in my mind there’s something about it that gives me an extra kick in my step,” Gaines went on. “Forty and pregnant…who would have ever thought that was going to happen? But I’ll take it!”

—Shahrzad Warkentin

Featured photo: Joanna Gaines via Instagram

RELATED STORIES:

These Photos of Chip & Joanna Gaines’ Baby Crew Are Pure Love

Joanna Gaines’ Quotes about Being a New Mom After 8 Years Are Inspiring

Chip & Joanna Share Pics of Baby Crew (& What the Name Means to Them)

There’s nothing like the fresh scent of evergreens greeting you as you walk in the door and for many of us, the hanging of the holiday wreath is a tradition we treasure. But sometimes, especially when winter temps are more moderate, the grens just don’t stay, well, green. From fresh garlands to wreaths to your holiday tree, here are few tips and tricks for keeping it fresh as long as possible.


Keep It Fresh
Select the freshest possible! Make sure the wreath or swag doesn’t look dry and that when you touch it a ton of needles don’t fall (a few needles falling is normal). Typically, greens purchased through a nursery or tree farm tend to be fresher and better cared for vs. those out front of your supermarket.

Location, Location, Location 
Choose your location! Hang your wreath outside, ideally in a spot that doesn’t get a ton of direct sunlight. Inside, fresh wreaths and greens tend to last no more than a couple of weeks. For a festive indoor wreath, try out one of these cute DIY versions that are less perishable. If you must put it inside, make sure it’s not near a heating vent or fireplace (even though that garland looks soooo good draped over the mantel).

Spitz it!
Keep a small spray bottle on hand with water and spritz your greens a couple times a week in cooler climates, and up to once a day if you live somewhere warm. This will help keep them moist and hydrated.

Drink My Pretty
Before hanging and once a week or so, you can fill a shallow container with water and place your wreath in it so that the backside of the wreath is in water. This is the same principle you use for adding water to your cut Christmas tree. The cut branches will essentially suck up the water.

Super Spray
Some nurseries and cut tree farms recommend the use of a spray-on product like Wilt Pruf. It’s basically a protective waxy coating that you spray on. You can use it on all your greens including swag and Christmas trees. but you have to apply it first and let it dry completely before adding on lights, bells and bows. Most of this kind of product are non-toxic, but if you have a very large tree or length of garland, it’s going to be an awful lot of spritzing to cover it. 

Do you have any secrets for keeping your greens fresh? Share them with us in a comment below. 

—Amber Guetebier

photo: Tracey Adams via flickr