Ah, Valentine’s Day! It’s a time to give kisses, cuddles and, of course, Valentine’s Day science experiments! Combine this love-ly holiday theme with science experiments kids can do at home! They can learn to make pink glitter slime, love potions and heart-shaped crystals. Read on for cool science experiments with tons of heart.
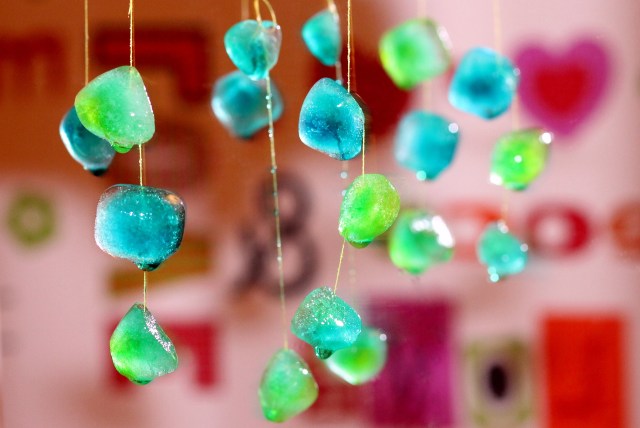
Heart-Shaped Grow Crystals

Our friends at Tierra Encantada shared this cool science experiment just in time for Valentine's Day:
This awesome activity teaches recrystallization and chemical reactions! Recrystallization happens when a solution of compounds can be dissolved in hot water and then cooled. As it cools, one substance crystalizes (the Borax) and can be removed from the rest of the liquid, which holds the other compound.
Materials:
- 3 cups of water
- 1 cup of Borax
- Pipe cleaners (red and pink)
- Clear jars or cups
- String
- A stick to hold up your creation (a pen, popsicle stick, etc.)
Instructions:
Boil your water. Add Borax and stir periodically until completely dissolved. Set aside to cool slightly. While the water/borax combination is cooling, make your heart shapes out of pipe cleaners. You can do this from memory, drawing a heart shape and following the edges of a sheet of paper. Tie a piece of string to the top of your creation. Pour the water combination into your jars. Put the pipe cleaner heart shape into the filled jar leaving the string outside of the water. Tie the string to your stick. Keep in a safe location for 1-2 days and watch as your pipe cleaner grows crystals!
Dissolving Candy Hearts
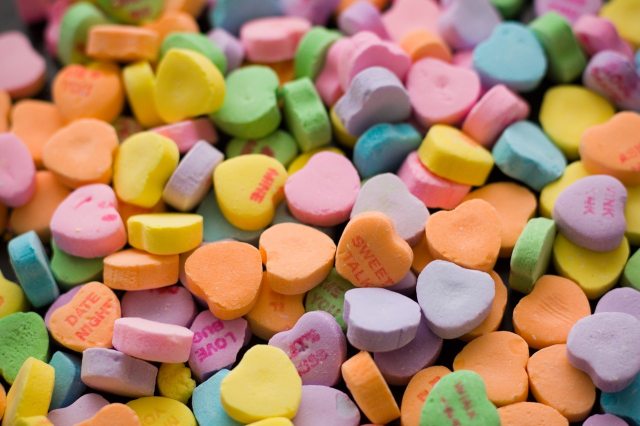
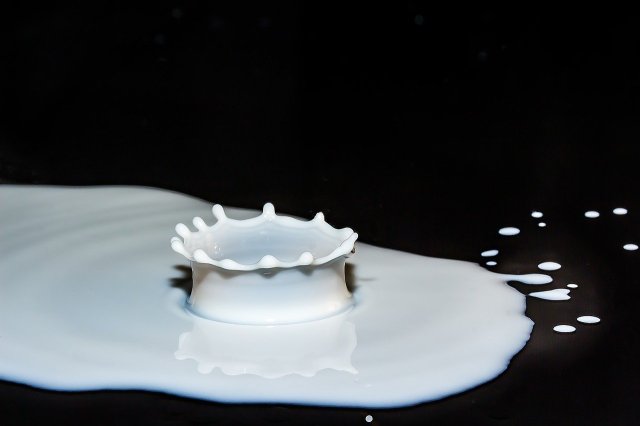
Explore the science of your child's fave Valentine's Day candy. Save a few of those cute conversation hearts, toss them into warm water and wait (and watch, of course) to see what happens. Repeat the science experiment with cool water, veggie oil, milk or any other liquid.
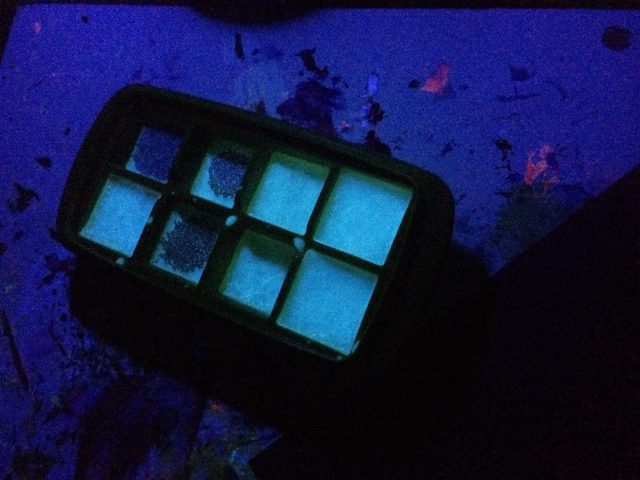
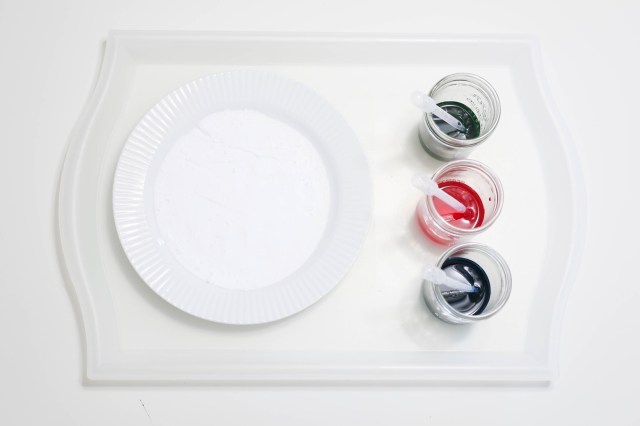
Melting Candy
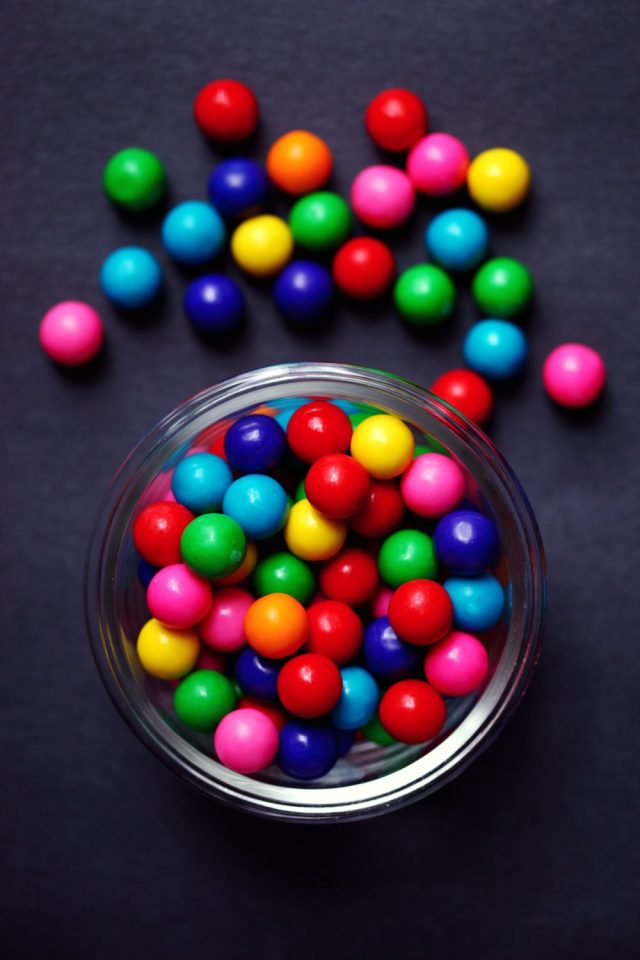
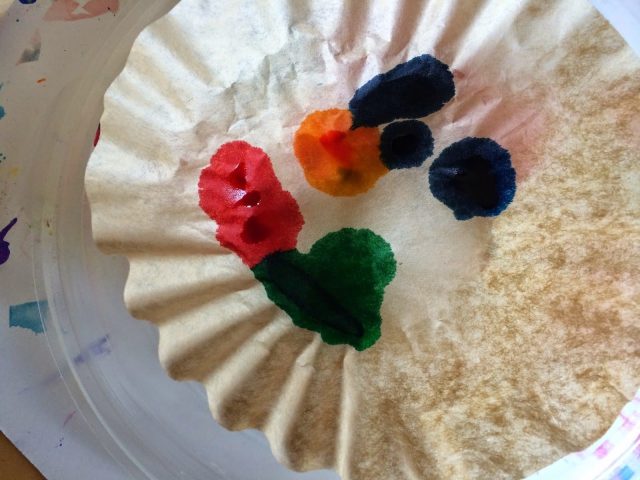
Put a Valentine's twist on this classic project by putting the candy into a heart shape. Your kiddo can even use only the pinks, purples and reds to make it even more festive. All you need is a plate or dish, your coated candy (such as Skittles) and some water. Put your candies in whatever shape, pour a splash of water on the candies and watch the colors melt!
Invisible Heart Reveal
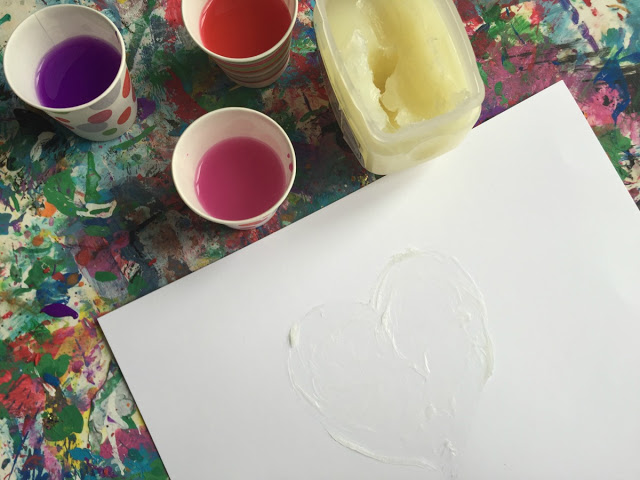
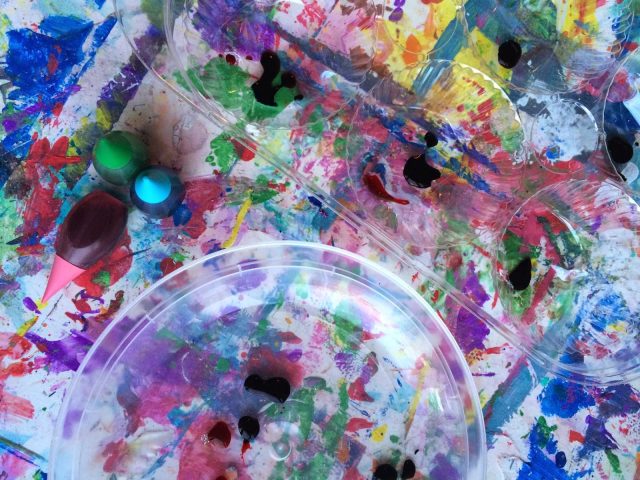
What happens when you mix oily petroleum jelly with watercolors? Let your little one find out when they finger paints a heart using petroleum jelly. Not only is this a super-cool sensory experience (exploring texture) but it's also the first step in a discovery-based Valentine's Day science experiment for kids. While the heart's still sticky, have your child paint a wash of watercolors over it. Whoa. The paint won't stick! Now it's time for your child to figure out why!
Love Potion
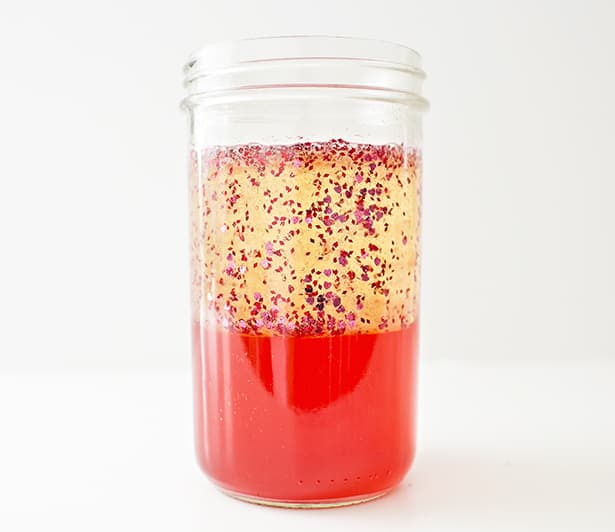
Part love potion, part lava lamp, we're totally crushing on this concoction from Agnes at Hello, Wonderful. Using simple ingredients you probably have in your pantry, you can whip up your own version in no time. Click here to get started.
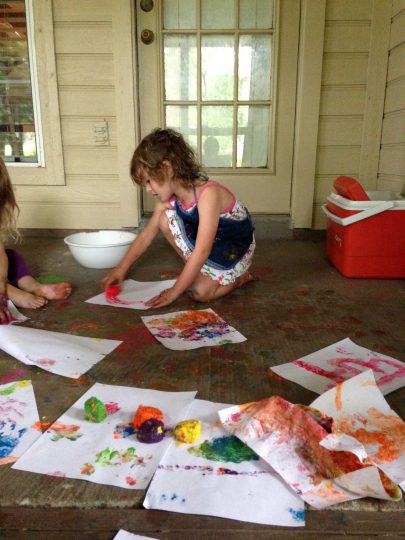
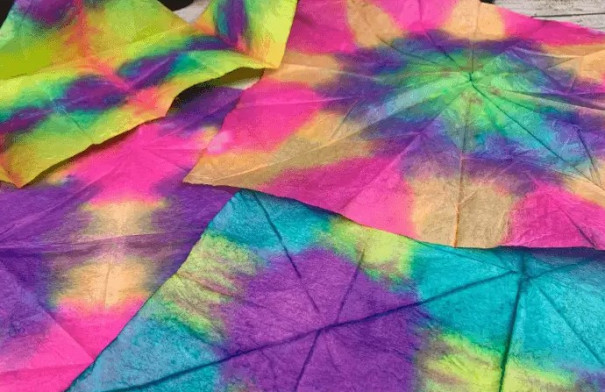
Tissue Paper Science
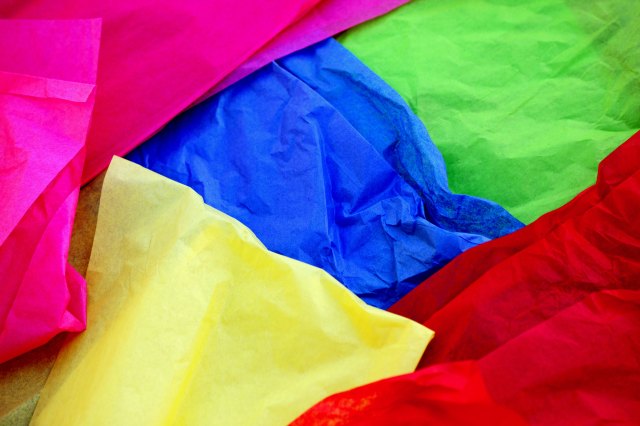
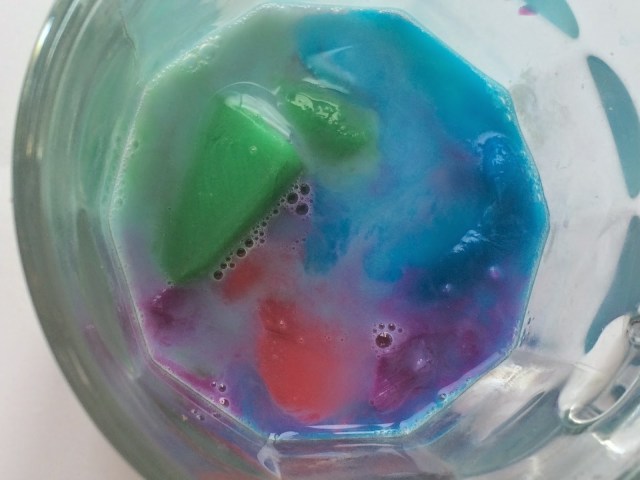
The red tissue paper that your tot is using to decorate their Valentine's Day card box isn't staying put. That is, the color isn't the staying put. What's going on here? Use the tissue paper's amazing ability to transfer color as the starting point for a cool science experiment. Cut non-color-fast red tissue paper into heart shapes. Have your child drop the hearts into a cup or bowl of water. Now watch what happens. Ask your kid why the water is suddenly red. After exploring the color transfer process, use the red water to paint hearts or other Valentine's pictures onto construction or drawing paper.
Fizzy Fun
A fizzing eruption experiment may not seem like it could possibly have a Valentine's Day theme, but it can. Try this simple fizzy eruption activity from Mama Papa Bubba. But instead of a rainbow of hues, only use holiday colors such as red and pink. This beginning chemistry experiment helps your child to understand reactions on a basic level.
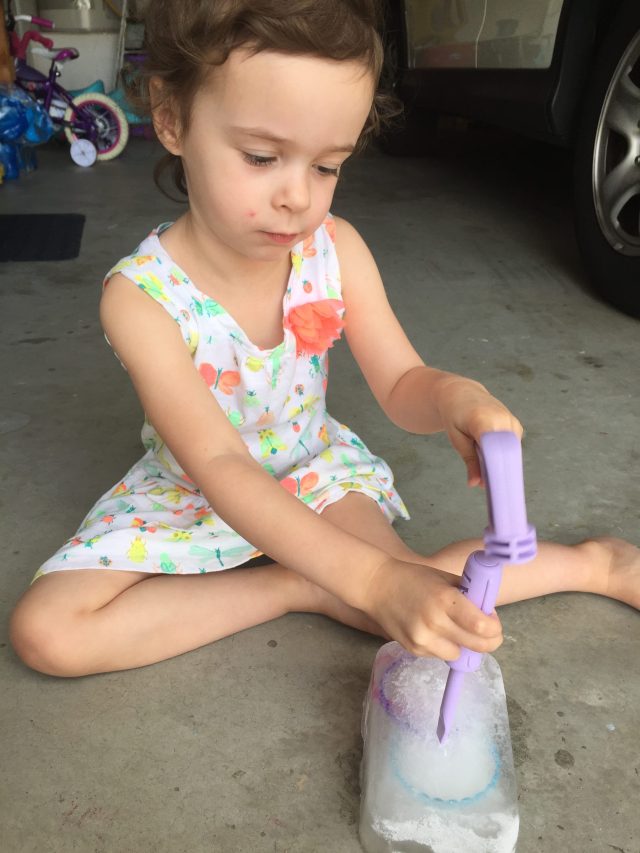
Foamy Hearts
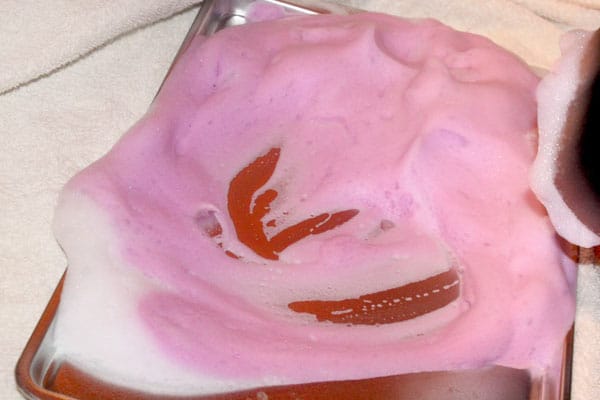
Get messy ... um, or clean. This soap foam science exploration activity from Hands On As We Grow is sensory fun for your child. Add holiday-themed colors to make this into a Valentine's Day soap-stravaganza.
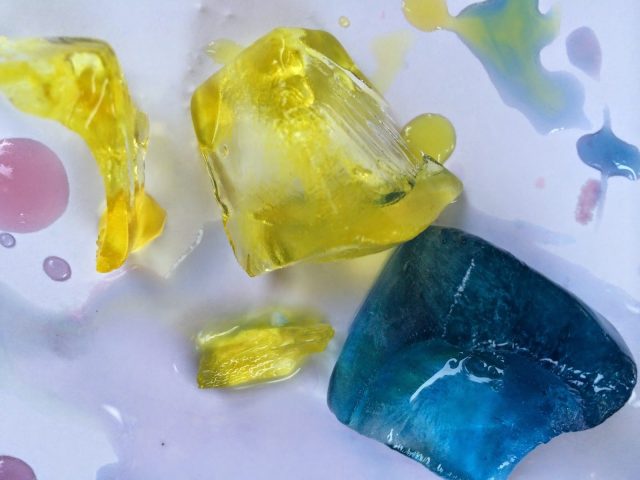
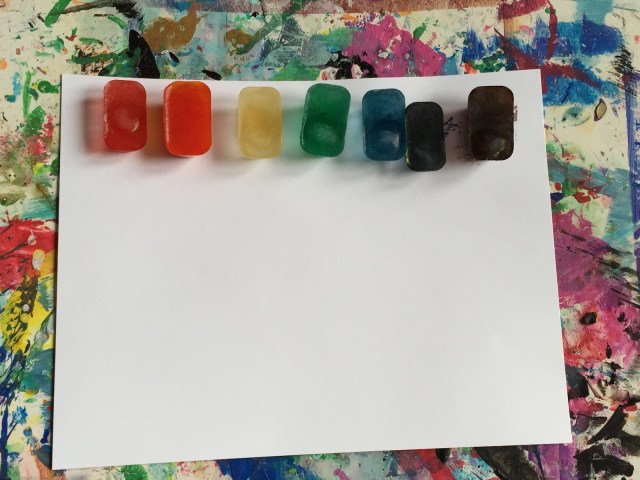
Wax Paper Stained Glass
What happens to crayons when you heat them? Um, you can make stained glass! Sort of. You'll need to do the heating part. But your child can do the prediction, observation and coming to conclusions part—as they figure out how this magic is happening. Get the how-to here.
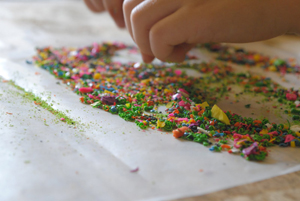
Sensory Soap
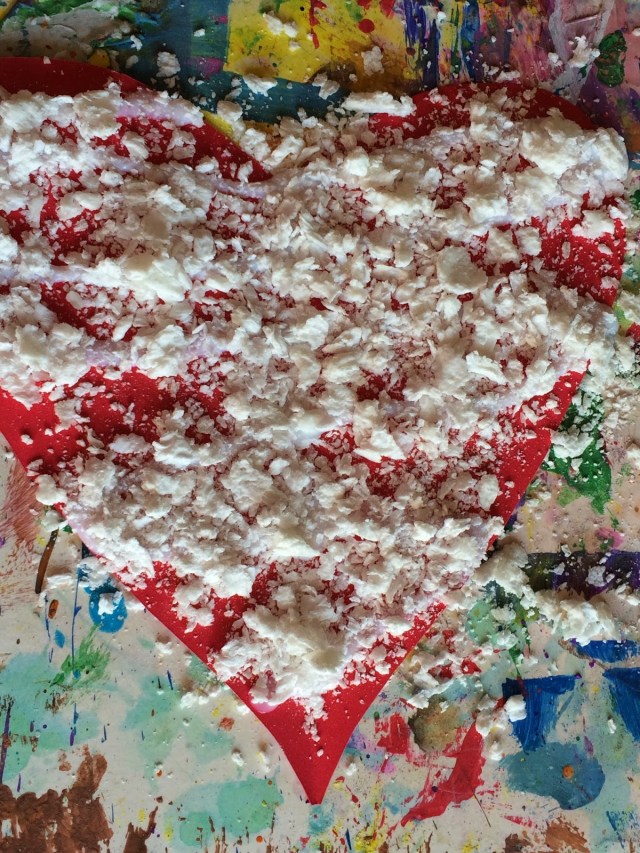
Decorating a valentine with glitter, paints and markers is the norm for this heartfelt holiday. But that doesn't mean you can't throw in a science experiment too. Forget about the usual suspects and help your kiddo to dress-up their handmade cards with sensory soap. Microwave plain Ivory soap in 10-second increments and ask your child to predict what will happen. Stand back and don't let your child touch the hot soap (psst: It will grow, loop and flow into an awesomely puffy cloud when heated). When the soap cools, flake into pieces. Cut out a construction paper heart, add glue and sprinkle the sensory soap flakes on top.
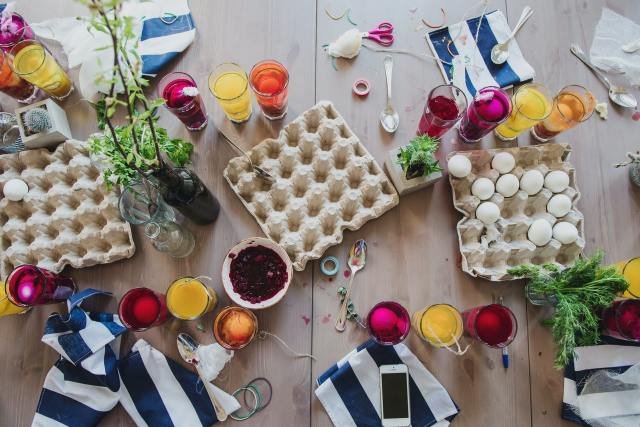
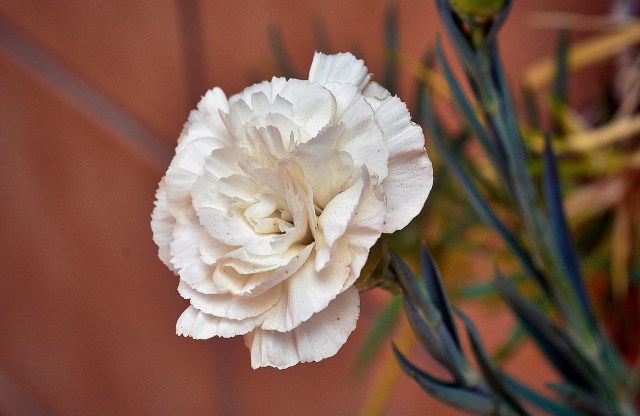
Color Changing Flowers
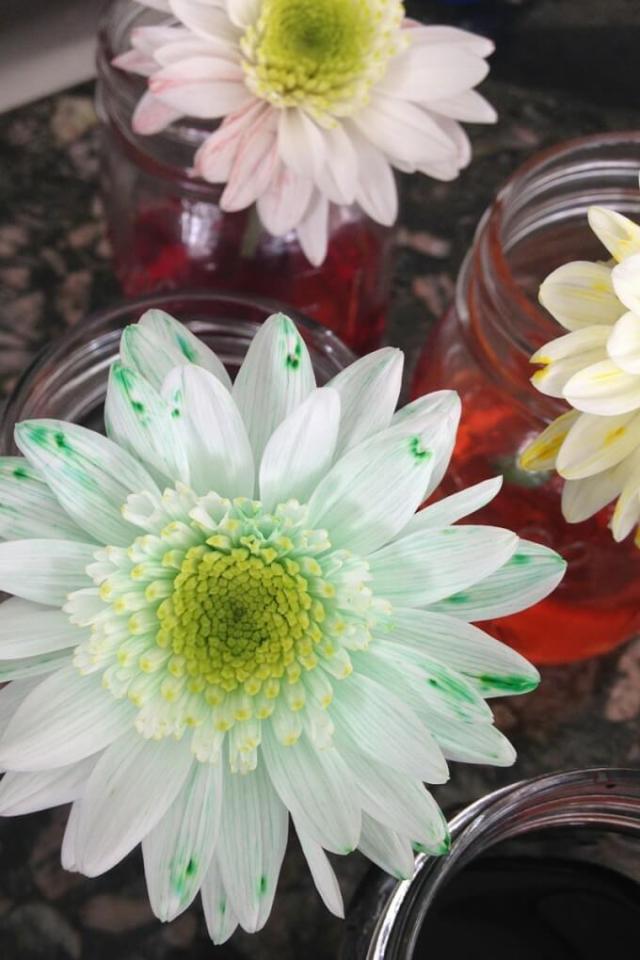
Instead of giving a dozen red roses, your child can give friends and family a bouquet of super-scienced-out ones! Check out this color changing flower science experiment from Little Bins for Little Hands. And then give them rainbow-hued products as Valentine's Day gifts.
—Taylor Clifton & Erica Loop
Feature photo by Istock
RELATED STORIES:
53 Easy Valentine’s Day Cards You Can Actually Make
The 14 Funniest Kids Valentine’s Day Poems Ever
The 26 Worst Valentine’s Day Gifts, Ever
12 Sweet & Low-Stress Valentine’s Day Recipes