From hearts and lovebugs to flowers and trees, these are all kinds of cute
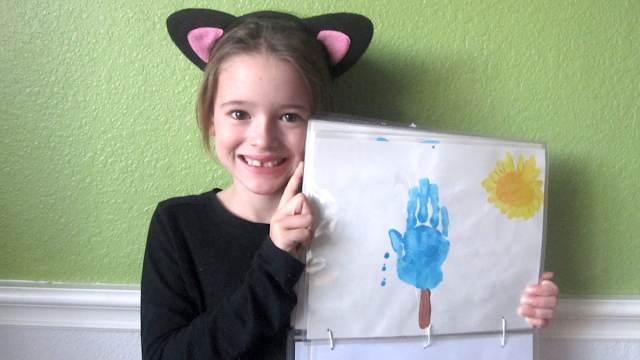
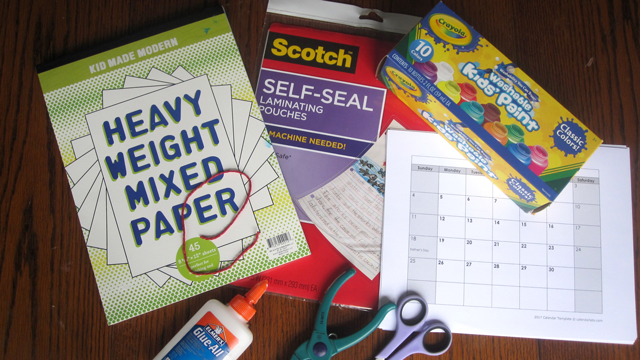
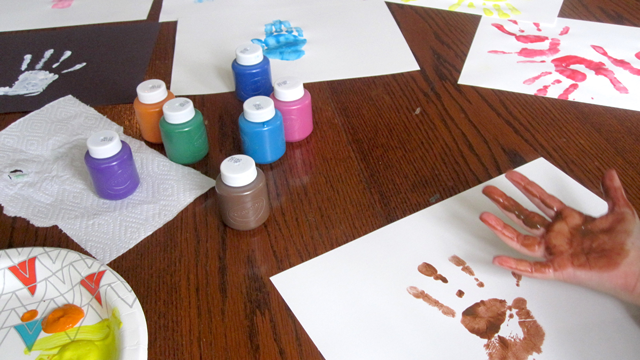
Spread the love with these easy homemade Valentine’s Day cards perfect for making with babies and toddlers. Each card or keepsake features a unique touch—your kiddo’s thumbprint, handprint, or footprint. So these are frameable pieces you’ll want to save or give to buddies and grandparents. Gather up supplies like construction paper, tempera paint, and washable ink, and you’ll have unique, handmade toddler valentines in no time.
Thumbprint Hearts
Brush washable tempera paint on your little one’s thumb, and then make two thumbprints, each on an angle, to create the shape of a heart. When the thumbprints dry, write your Valentine’s Day message around the heart. This easy-peasy Valentine will be ready in no time. Because it’s so simple, this Valentine is a perfect activity for playgroup buddies or preschool classmates.
Thumbprint Lovebugs
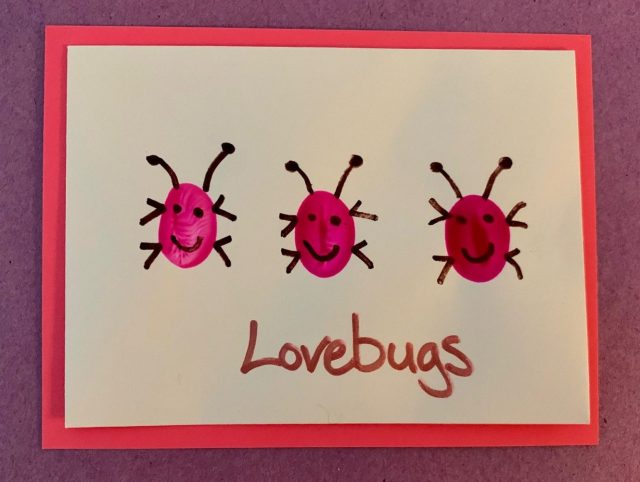
Share a little love with a trio of lovebugs. Using washable ink in your little lovebug’s favorite color, help your child make thumbprints on the center of a piece of cardstock or construction paper. When the print dries, use a fine-tipped Sharpie to add legs, antennae and a cheerful smile. Glue on googly eyes for an extra-festive touch. Share these cards with neighborhood buddies or older siblings.
Related: 28 Easy Valentine’s Day Cards You Can Make at Home
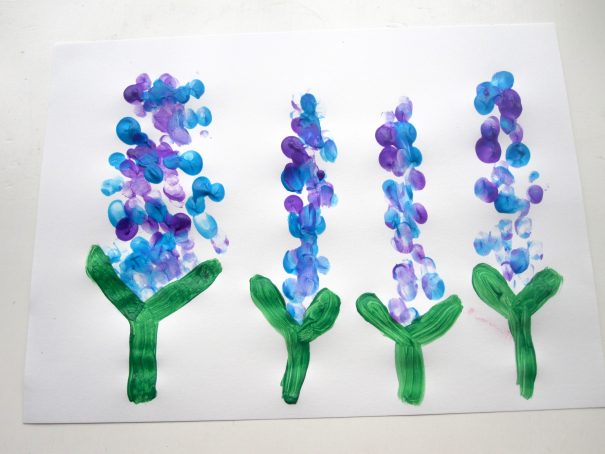
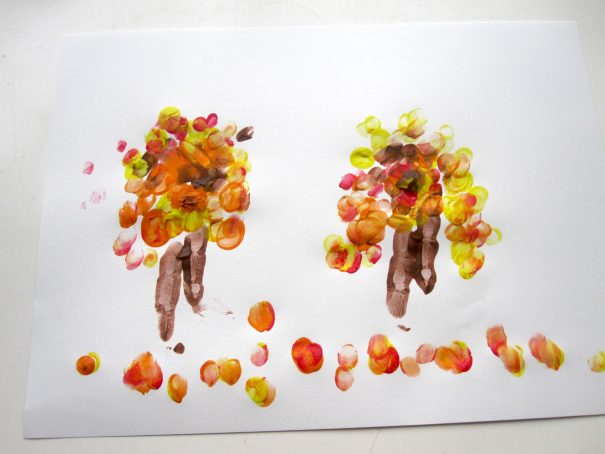
Thumbprint Flowers
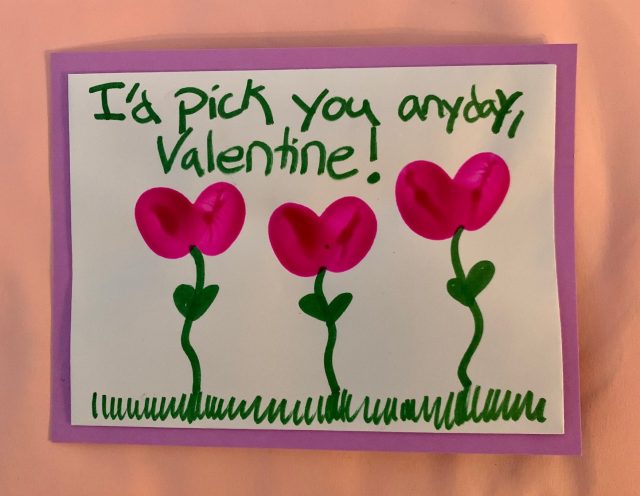
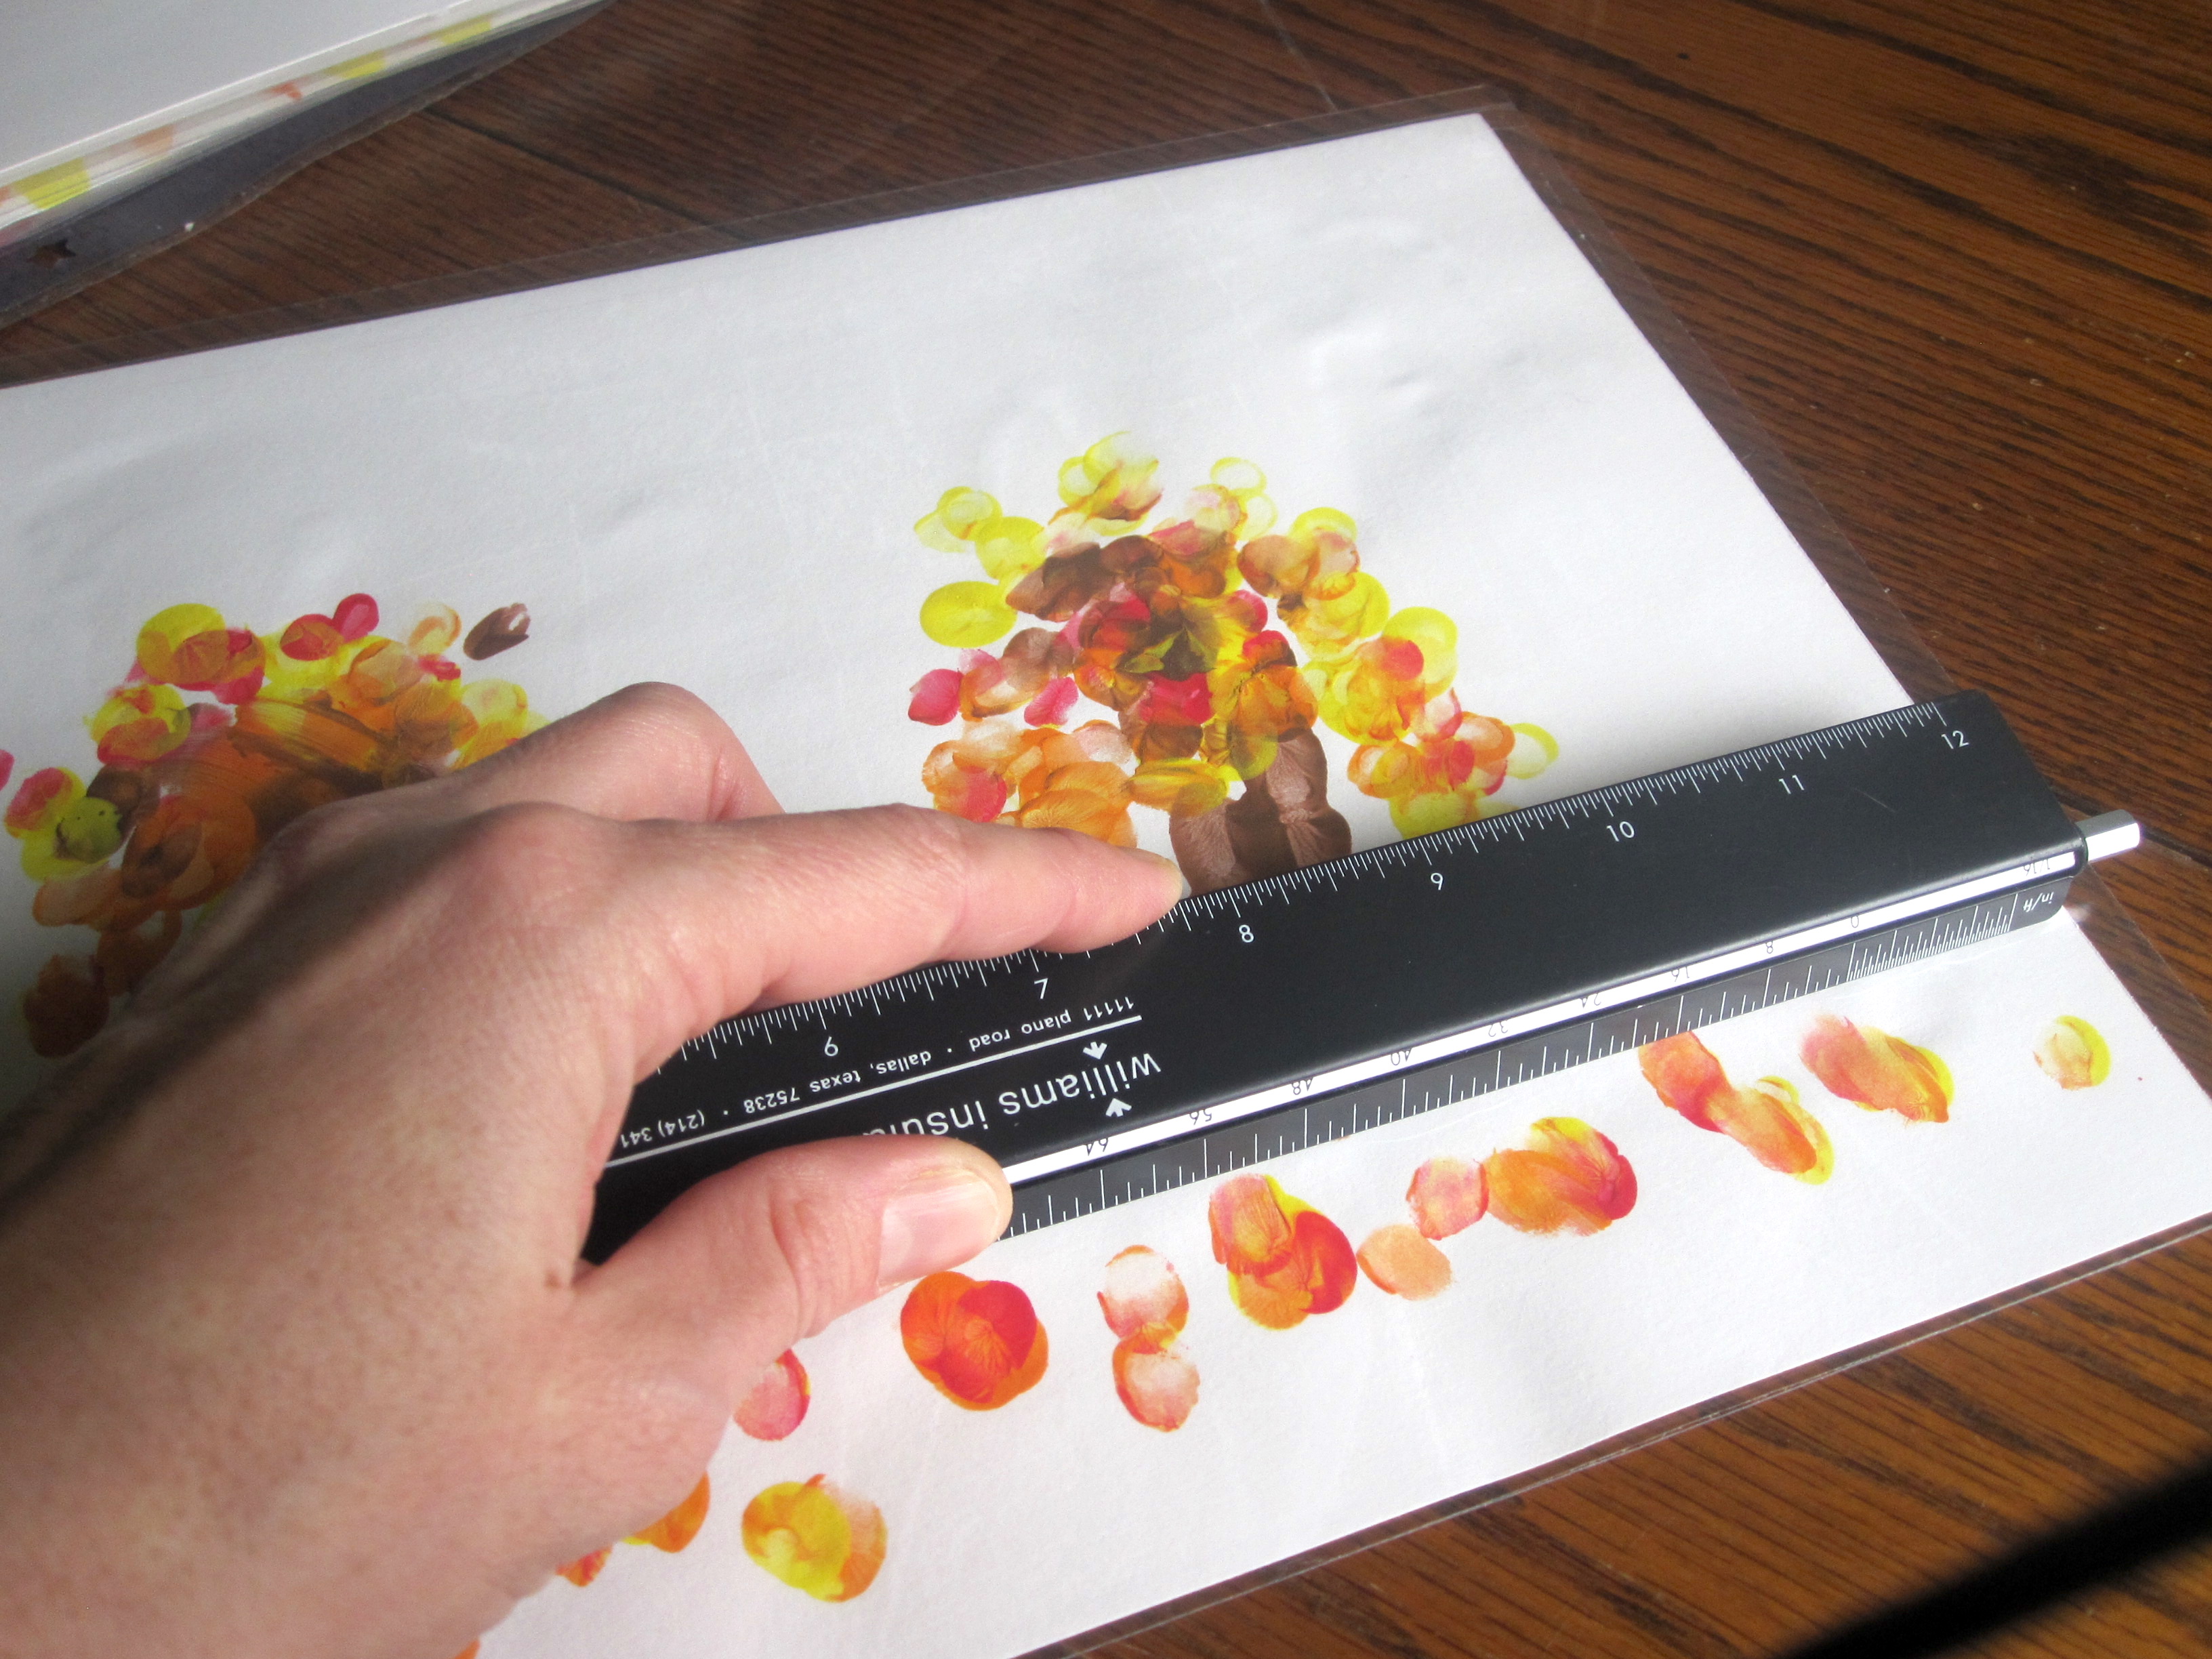
By pairing two thumbprints together and drawing a stem, it’s easy to grow a bundle of flowers on your toddler's valentines cards. With a paintbrush, coat your kiddo’s thumb with washable tempera paint. Add as many brightly colored thumbprints as you’d like, and then use a green marker to add stalks, leaves, and grass. To complete the card, write “I’d pick you any day to be my Valentine” atop the field of thumbprint flowers.
All You Need Is L O V E
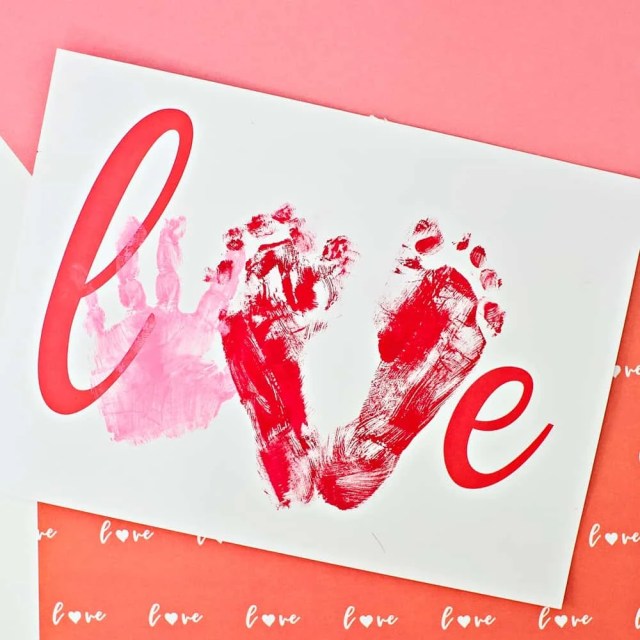
Spell out the word of the day using footprints as the V and a handprint in place of the O. This keepsake-worthy piece makes a perfect Valentine’s Day gift for the people who love your little one best, from grandma to dad. It’s a sweet Valentine to commemorate baby’s first Valentine’s Day. Head over to Hello Wonderful to find out how you can make your own.
Related: 18 Easy Valentine’s Day Gifts That Kids Can Make
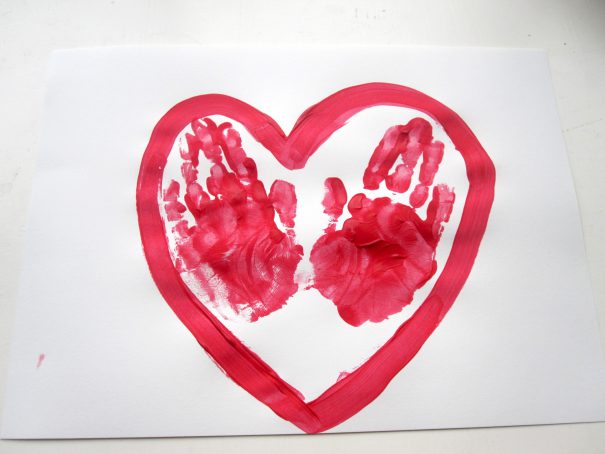
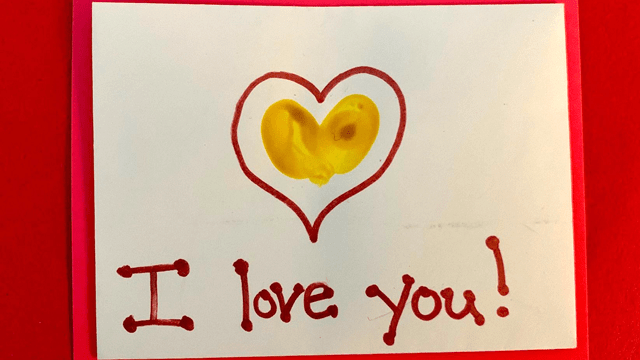
Fingerpaint Heart
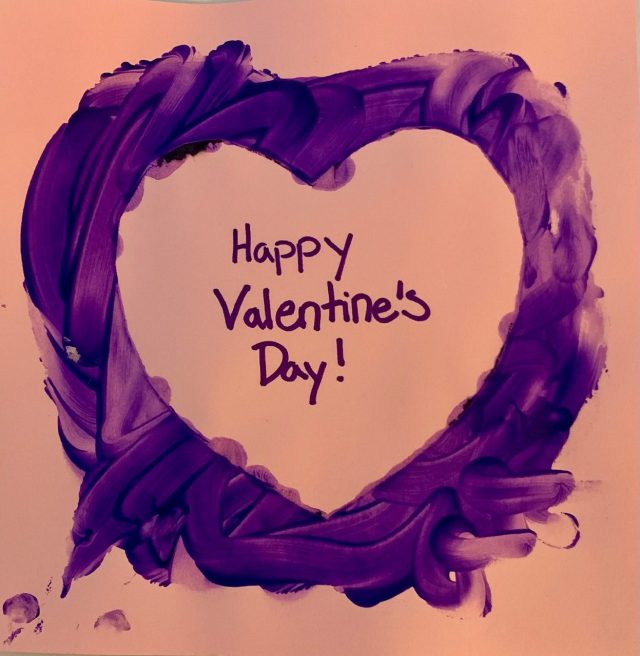
Kids who love smearing paint on paper will be delighted to make this fingerpaint heart for Valentine's Day. Cut a heart shape out of paper and use double-sided tape to attach it to the center of another piece of paper. Next, let your budding artist paint all over the paper with their favorite finger paints. When the paint dries, simply peel off the heart shape, and voila! You'll have a brightly colored toddler-created masterpiece with a perfect heart shape in the middle. You can write a Valentine’s Day message in the center of the heart, or add your child’s handprint.
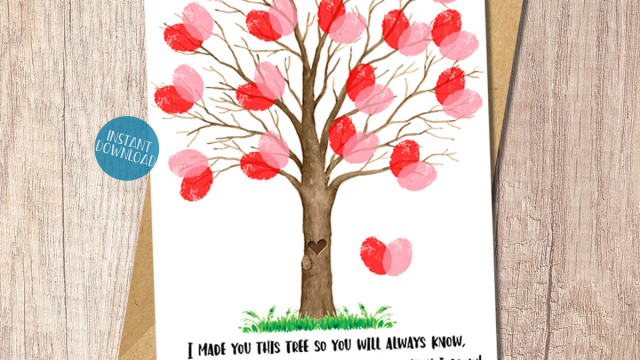
Tree of Love
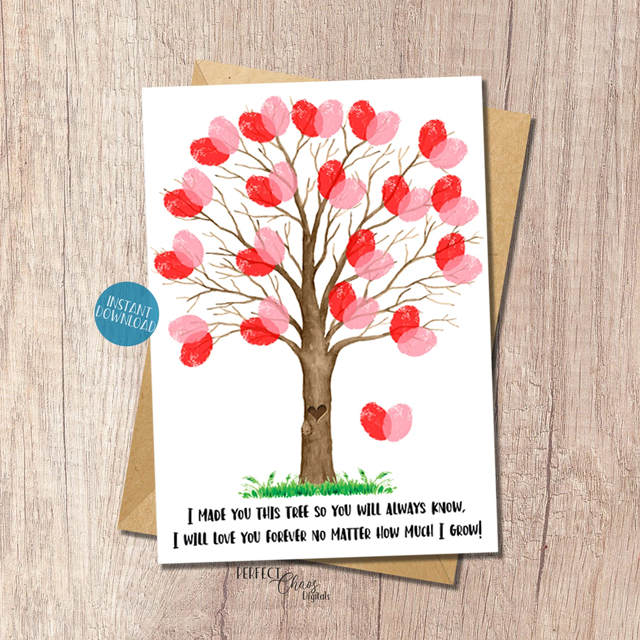
Want to make a cute card with minimal effort? This thumbprint tree is for you. You’ll get an adorable product, and all you need is a few washable ink pads and your little one’s thumb. Just purchase the card, print it on cardstock, and sprinkle thumbprints all over it. It’s the perfect card to send to extended family on Valentine’s Day.
Available at Etsy shop Perfect Chaos Digitals, $4